
This post contains affiliate links. I earn from qualifying purchases at no extra cost to you. Thank you for supporting Patriot Street Homestead!
Sweet Summer Days: Preserving Fresh Raspberries from the Homestead
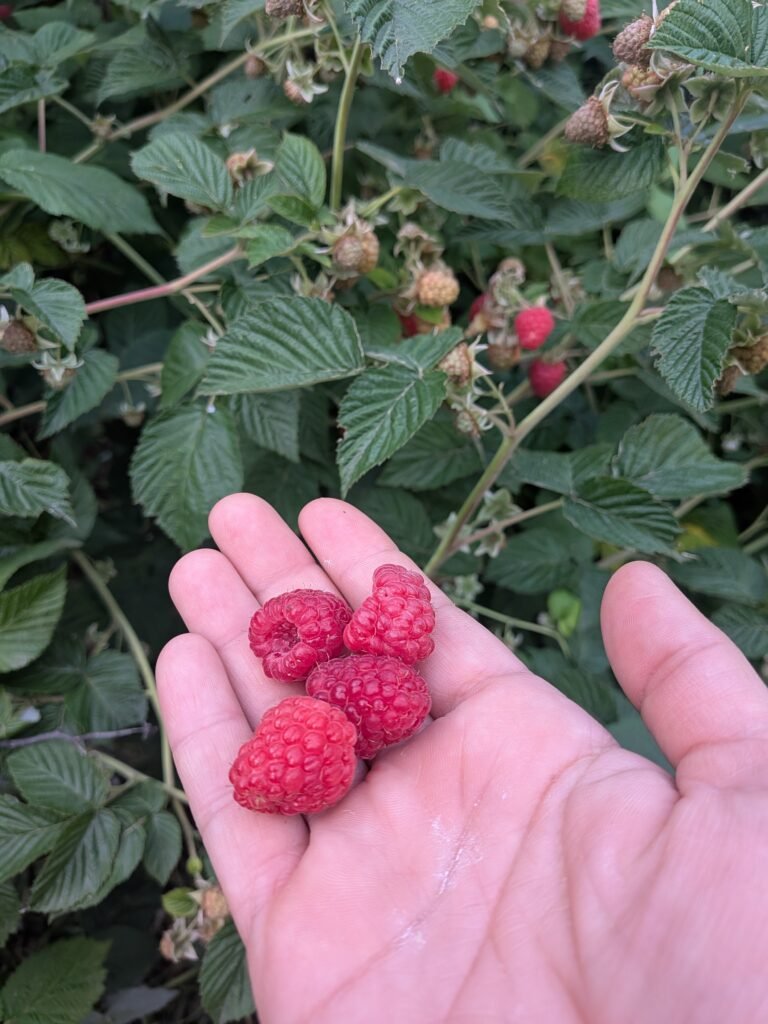
We just got home after spending a week in Michigan cheering on our son at the USA High School Clay Target League National Championship, and while we were gone, our raspberry bushes apparently decided it was the perfect time to go into overdrive.
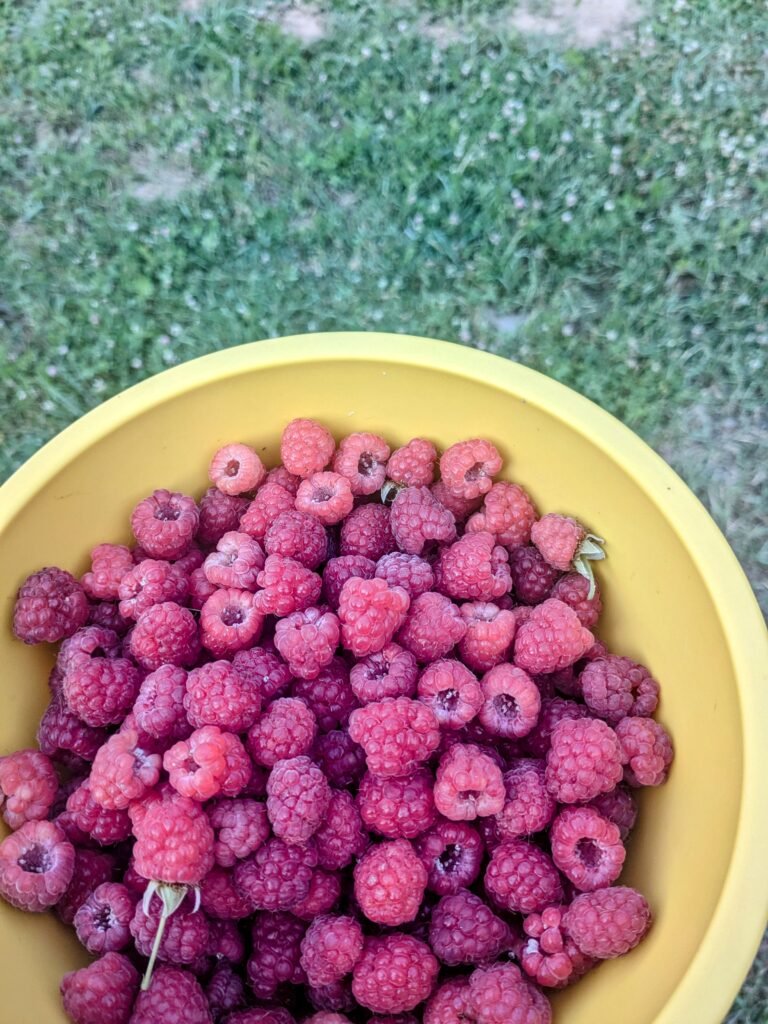
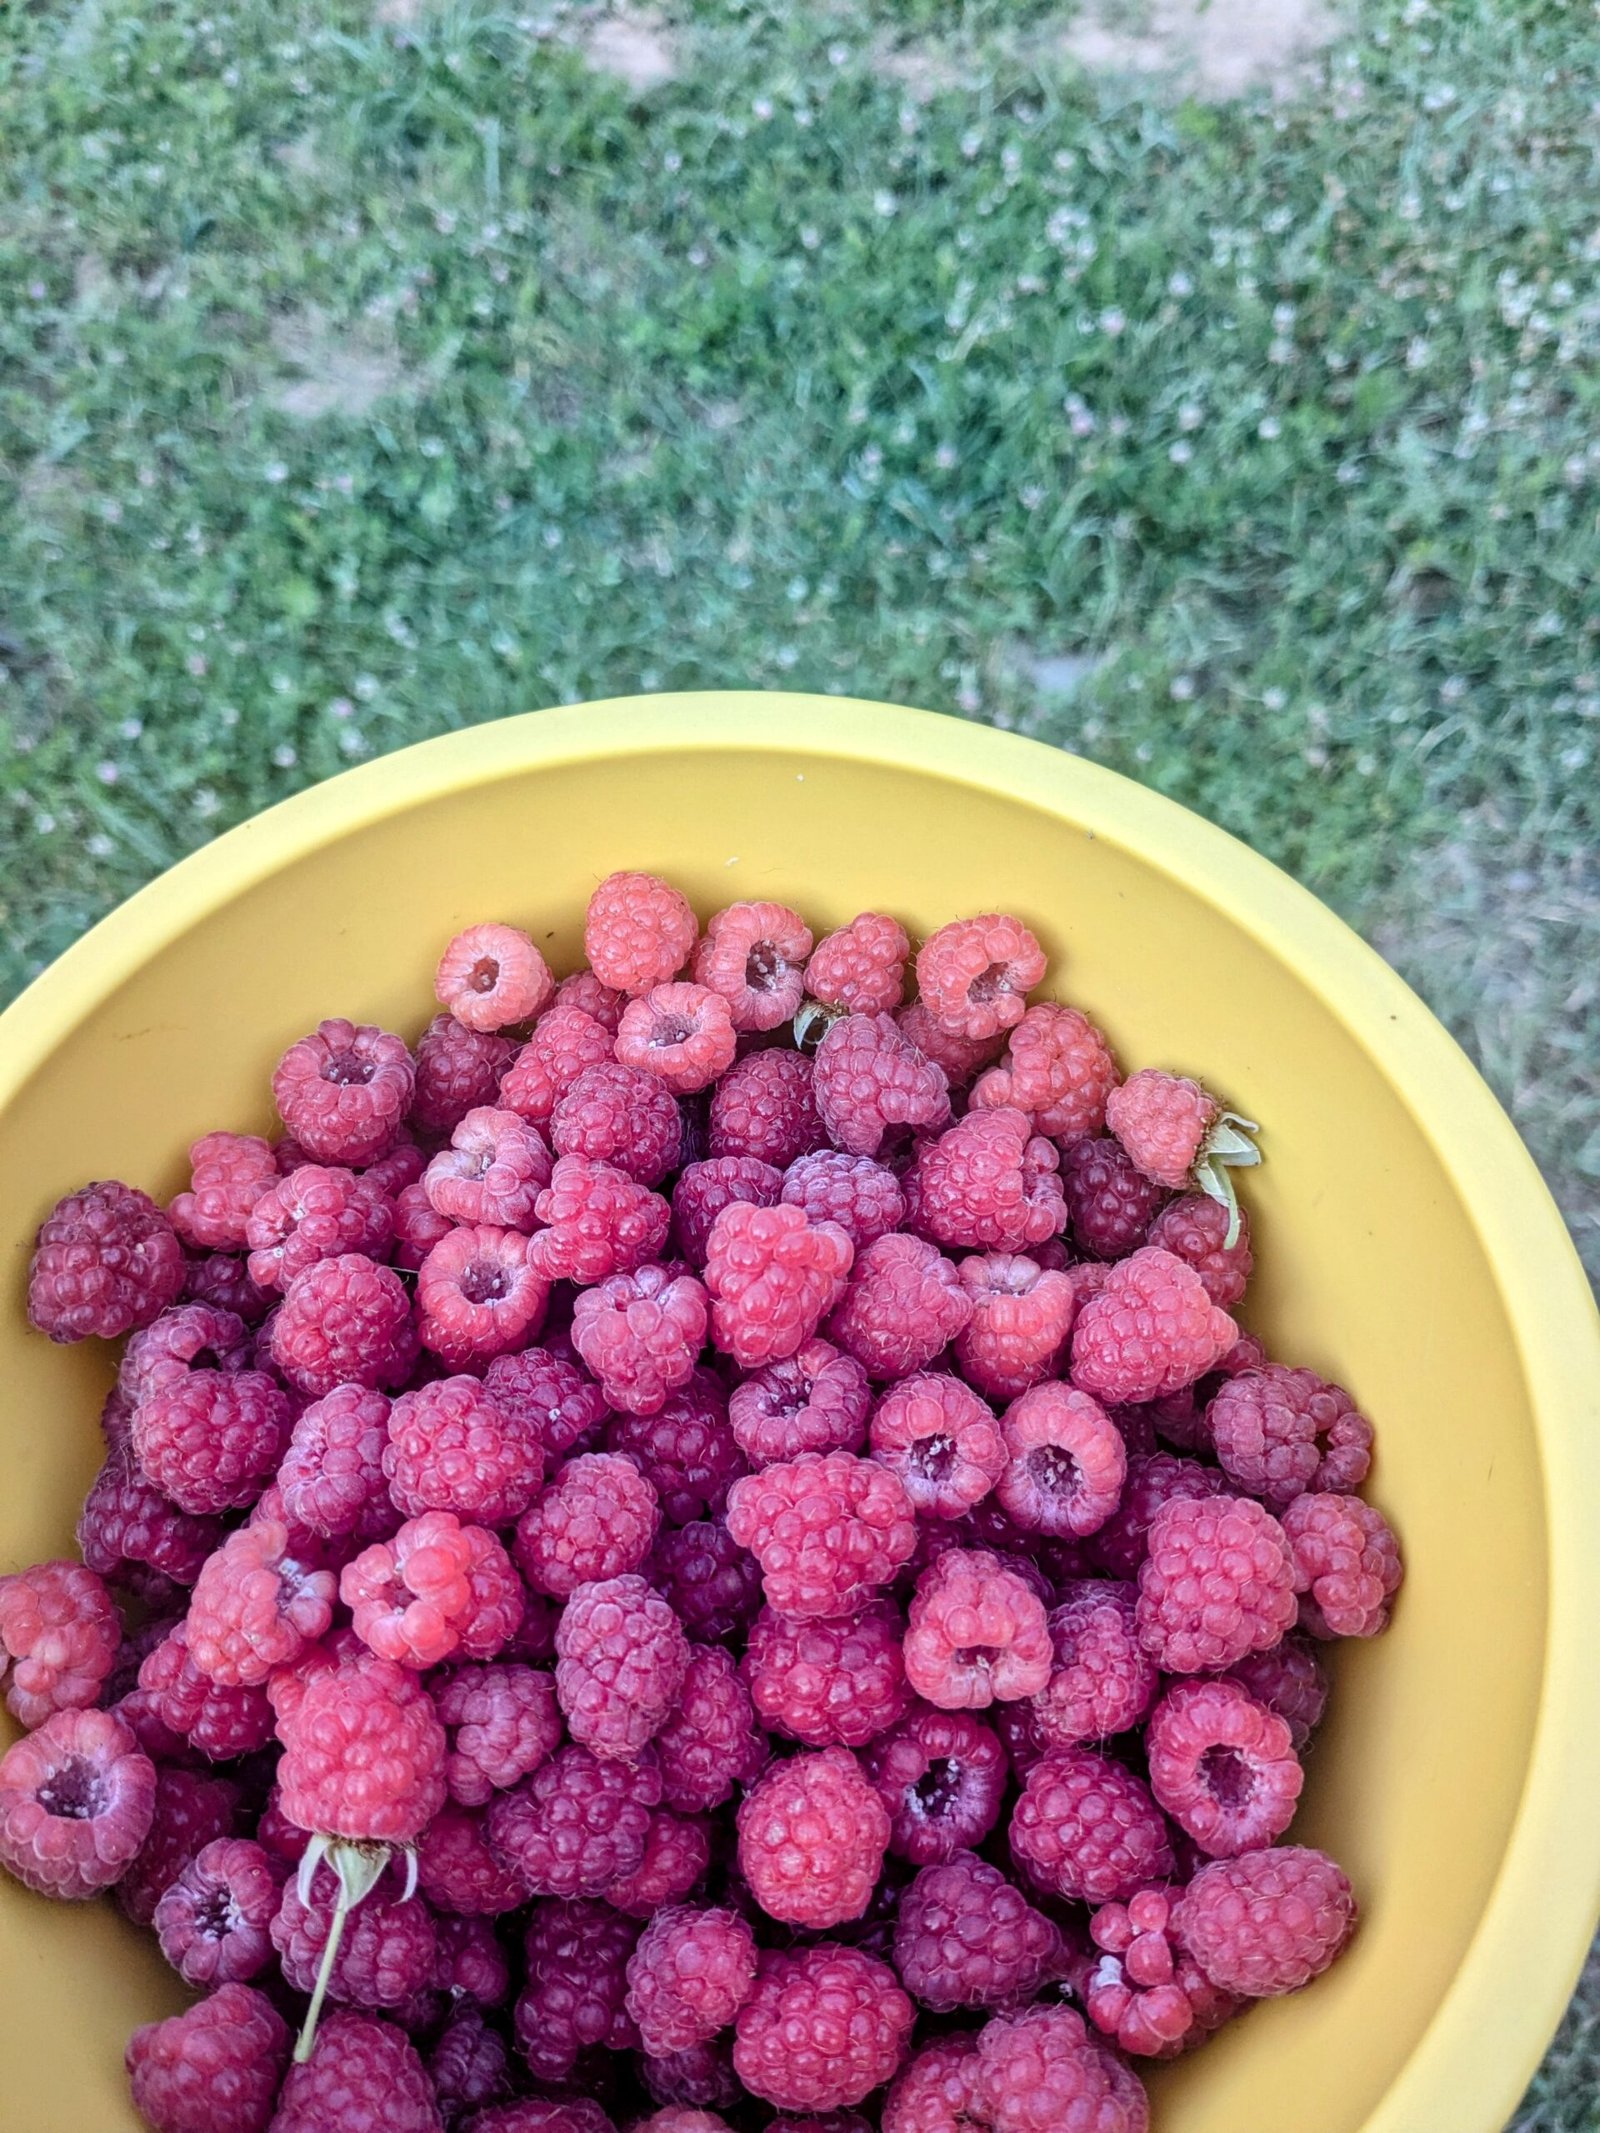
The morning after we got home, I grabbed a bowl, and my husband and I headed out to see what was waiting for us. We quickly picked bowl after bowl of beautiful, ripe raspberries. Every bush seemed absolutely loaded, and I knew there was no way we could eat them all fresh before they went bad.
This year, our raspberry harvest has been especially generous, so I’ve set some aside for the fridge and the rest for homemade raspberry jam.
Some years the raspberries give us just enough for fresh eating, and other years they practically beg us to preserve every last berry. This is definitely one of those years, and I’m not complaining one bit.
Why We Love Homemade Raspberry Jam
Store-bought jam has nothing on homemade.
Making your own raspberry jam means you control the ingredients, the sweetness, and the texture. Plus, opening a jar in the middle of winter instantly brings back memories of warm July mornings spent on the homestead.
Our family loves raspberry jam on:
- Homemade sourdough bread
- English muffins
- Biscuits
- Homemade yogurt
- Ice cream
- Peanut butter sandwiches
- Swirled into oatmeal
Why I Use Pomona’s Universal Pectin
One of my favorite things about making jam is using Pomona’s Universal Pectin.
Unlike traditional pectin, Pomona’s lets you use much less sugar while still getting a beautiful set. It also works with honey if that’s what you prefer.
I love having the flexibility to adjust recipes without worrying about whether the jam will actually gel.
My Favorite Canning Supplies
If you’re just getting started with water bath canning, or looking to upgrade a few well-loved tools, I’ve rounded up all my favorite canning supplies in one place. These are the tools I reach for every canning season here on our homestead, from mason jars and canners to funnels, jar lifters, and the little gadgets that make preserving so much easier.
👉 Shop My Favorite Canning Supplies Here: Homestead Canning Essentials
Having the right tools on hand makes canning days smoother, safer, and a whole lot more enjoyable.
Homemade Raspberry Jam Recipe (Water Bath Canning)
Ingredients
Equipment
Method
- Wash jars in hot, soapy water and keep them hot until you're ready to fill them.
- Prepare your water bath canner according to the manufacturer's instructions.
- Wash your raspberries gently and remove any leaves or stems.
- Lightly crush the berries with a potato masher until you have about 4 cups.
- Stir the calcium water into the crushed berries.
- In a separate bowl, thoroughly mix the sugar with the Pomona's Universal Pectin powder.This helps prevent clumping.
- Bring the raspberries to a full boil.
- Slowly stir in the sugar and pectin mixture while stirring constantly.
- Continue stirring until everything dissolves.
- Return to a full rolling boil for 1–2 minutes.
- Remove from heat.
- Using a funnel, ladle the hot jam into prepared jars.
- Leave ¼-inch headspace.
- Remove air bubbles, wipe the rims clean, apply the lids, and tighten the bands until fingertip-tight.
- Process the jars in a boiling water bath for 10 minutes (adjust for altitude if necessary).
- Turn off the heat and allow the jars to rest in the canner for 5 minutes before removing them.
- Place jars on a towel and let them cool undisturbed for 12–24 hours.
- Check the seals before storing.
Notes
Bringing Summer to the Pantry
Every jar of homemade raspberry jam feels like putting a little sunshine on the shelf.
We’ll enjoy some fresh berries while they’re in season, freeze plenty for later, and tuck away enough jam to last us through the colder months. It’s one of my favorite parts of summer on the homestead: taking today’s abundance and turning it into something we’ll enjoy all year long.
If your raspberry bushes are overflowing too, don’t let a single berry go to waste. Whether you’re spreading this jam on fresh sourdough, stirring it into yogurt, or sharing a jar with a neighbor, it’s a simple reminder that the sweetest things often come from slowing down and making the most of what the season gives us.
Happy canning!
From our homestead to yours,
Eliza