There’s something about trying a new kitchen skill on the homestead that feels equal parts exciting and slightly risky. Making yogurt for the first time definitely falls into that category.
This week, a sweet friend gifted us a gallon of fresh raw milk, and instead of using it all for drinking (although our teenage son would’ve loved that) or baking, I decided it was finally time to try something I’ve been putting off for a while: homemade yogurt.
Why Yogurt?
Yogurt has been on my “learn to make from scratch” list for a long time. It’s simple, nourishing, and a great way to stretch a large amount of milk into something that lasts a bit longer in the fridge. To be honest, we’re not huge milk drinkers around here, with the exception of our teenage son. The idea of turning fresh milk into thick, creamy yogurt on our own homestead just feels right.
The Challenge
After reading way too many recipes on how to get started, I realized the best method for me would be the Instant Pot.
Here’s the catch I didn’t realize until after I dumped a gallon of milk into the liner: my Instant Pot doesn’t have a yogurt setting.
But if there’s one thing homesteading teaches you, it’s how to work with what you’ve got.
After a bit of research and a lot of “this should work…” confidence, I decided to give it a try anyway.
How I Did It (The Simple Version)
Since this is my first attempt, I kept things as simple as possible:
- Heated the milk
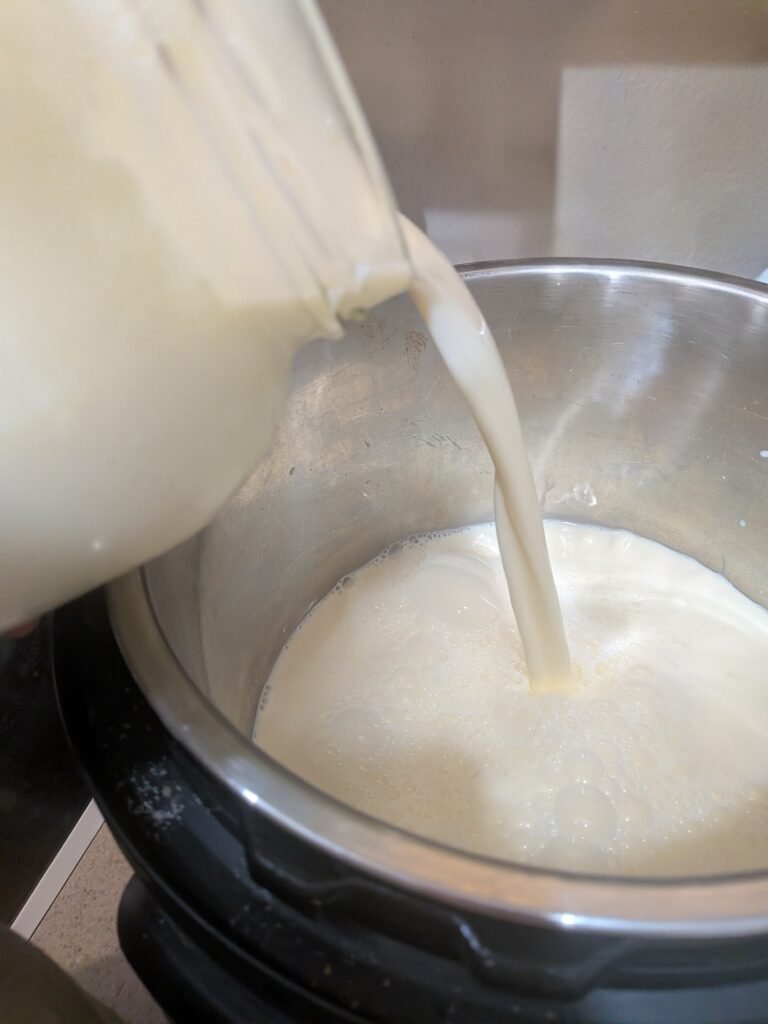
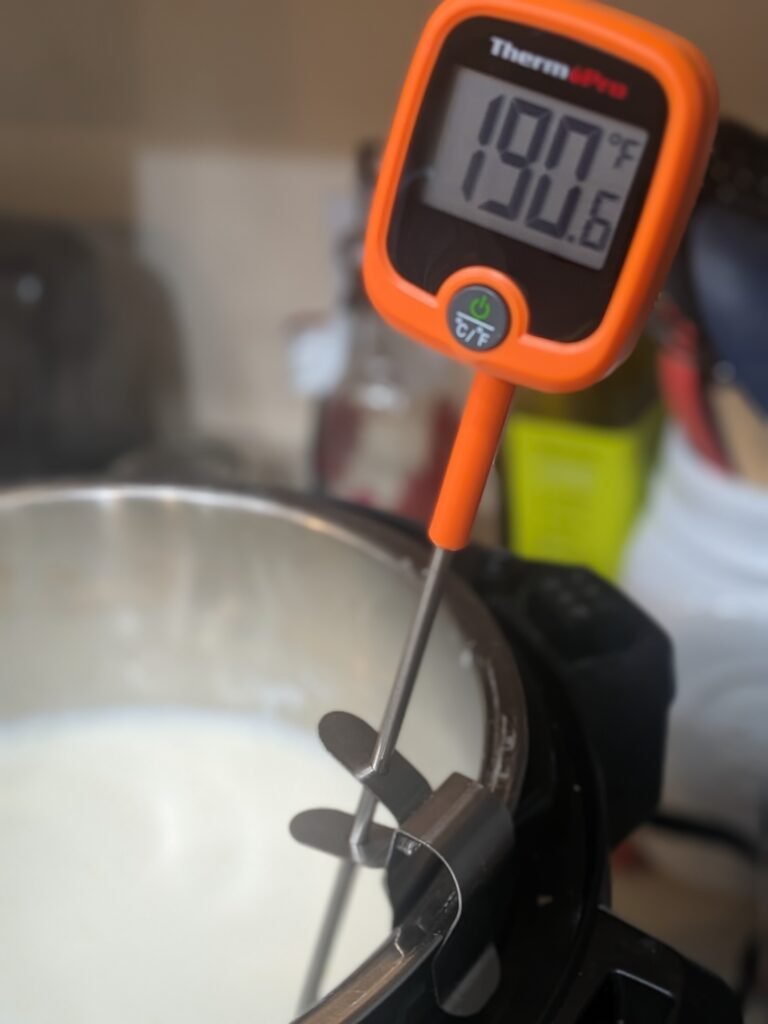
I poured the gallon of raw milk into the Instant Pot and used the sauté function to gently heat it, stirring often so it wouldn’t scorch. I brought it up to about 190°F, but realistically, it should be about 180°. I just got sidetracked being cuddled up with my dog in my chair in the library. It happens. - Added the starter
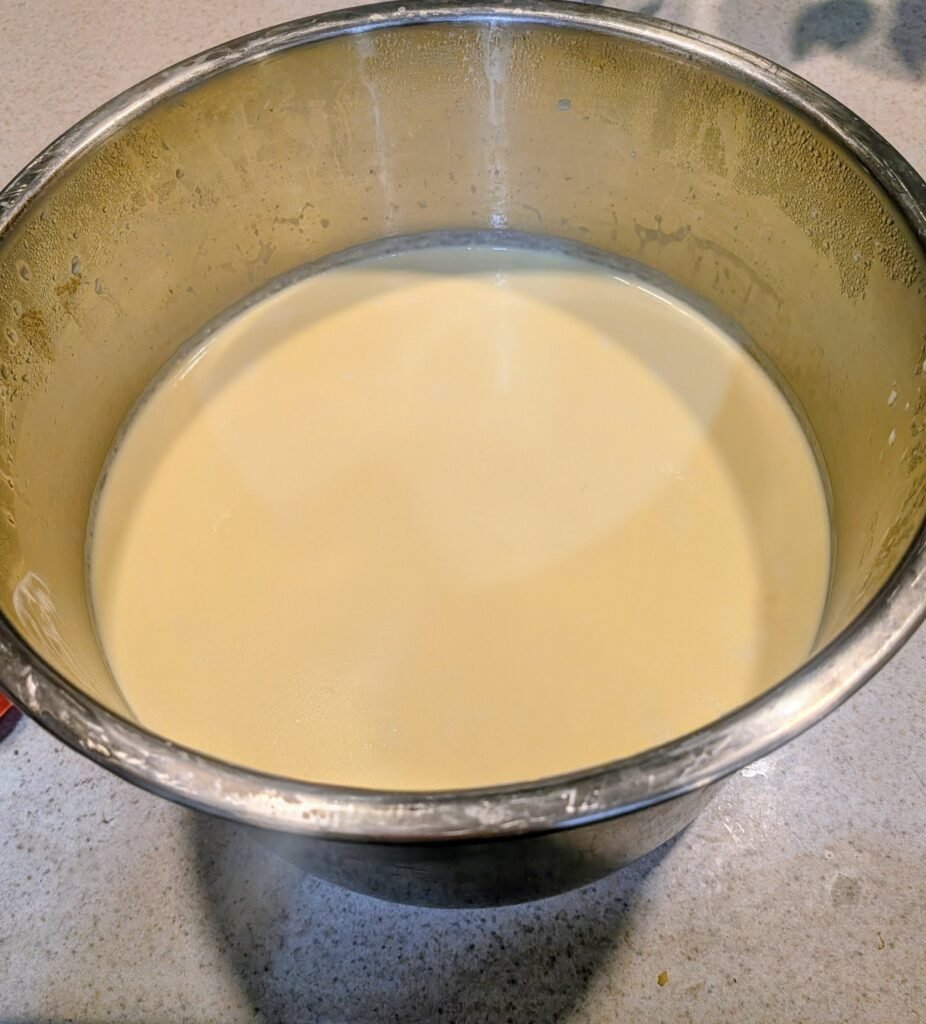
I whisked in about a cup of plain yogurt (with live cultures) to act as the starter. - Created a warm environment
Since I don’t have a yogurt setting, I got a little creative. I put the lid on, wrapped the Instant Pot in a couple of towels, and let it sit undisturbed on the counter to stay warm. At this point, my kids looked at me like I was crazy. - Let it sit overnight
I left it to culture for about 12 hours, resisting the urge to peek too often.
The Waiting Game
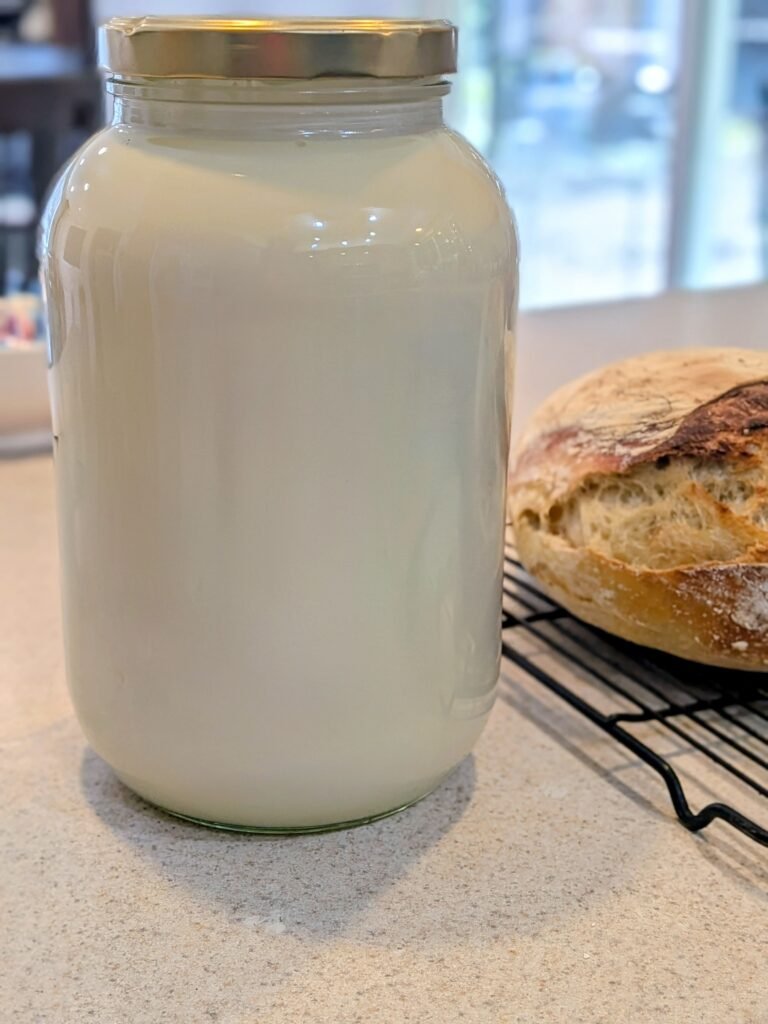
After the incubation time, I carefully transferred the yogurt into jars and placed them in the fridge.
And now… we wait.
From what I’ve read, letting the yogurt chill and set for a full 24 hours improves both the texture and the flavor. So that’s exactly what I’m doing, hands off, letting it do its thing.

What I’m Hoping For
I’m hoping to open the fridge tomorrow and find thick, creamy yogurt that we can scoop into bowls, drizzle with honey, and maybe even pair with some fresh berries.
But since this is my first try, I’m also fully prepared for it to be a learning experience. Maybe it’ll be a little runny. Maybe a little tangier than expected. Either way, it’s part of the process.
Stay Tuned…
I’ll be sharing an update soon with how it actually turned out: success, failure, or somewhere in between.
Because that’s real homesteading, isn’t it? Trying new things, learning as you go, and sharing the journey along the way.
If you’ve ever made yogurt without a yogurt setting, I’d love to hear your tips because I have a feeling this won’t be my last attempt.
From our homestead to yours,
Eliza