
This post contains affiliate links. I may earn a small commission at no extra cost to you. Thanks for supporting Patriot Street Homestead!
Apple season has kept me very busy this year!
After bringing home 60 pounds of Honeycrisp, Gala, and Golden Delicious apples from our local co-op, it felt like apples completely took over my kitchen. I’ve canned applesauce, made apple pie filling, dehydrated fruit leather, freeze-dried apple slices, and baked apple sourdough bread. Imagine all of the apple peels and cores I have!
Instead of tossing all those scraps into the compost, I decided to put them to work one more time by making homemade apple scrap vinegar.
I love finding ways to use as much of our food as possible, and this is about as simple as it gets. Apple peels and cores, water, sugar, a jar, and a little patience are really all you need.
And after processing 60 pounds of apples, you can probably imagine that I had plenty of scraps to work with!
A quick note: Technically, vinegar made from peels and cores is better called apple scrap vinegar rather than true apple cider vinegar. Traditional apple cider vinegar is made by fermenting pressed apple cider. The scrap version uses essentially the same fermentation process but starts with your leftover peels and cores.
What Is Apple Scrap Vinegar?
Apple scrap vinegar is made by fermenting apple peels, cores, and trimmings in sugar water.
During fermentation, naturally occurring yeast first converts sugar into alcohol. Then acetic-acid bacteria convert that alcohol into the acid that gives vinegar its familiar tang.
It takes several weeks, so this isn’t an instant pantry project. Thankfully, most of that time involves simply letting the jar sit and do its thing.
What You’ll Need
- Apple peels and cores
- Granulated sugar
- Filtered or non-chlorinated water
- Large clean glass jar
- Fermentation weight, if you have one
- Cheesecloth, coffee filter, or clean breathable cloth
- Rubber band or canning jar ring
- Fine-mesh strainer
- Clean glass jar or bottle for storing the finished vinegar
Basic Ratio
A simple ratio to remember is:
1 tablespoon sugar for every 1 cup of water.
Make enough sugar water to completely cover your apple scraps.
How to Make Apple Scrap Vinegar
1. Save Your Apple Scraps
As I processed my apples, I saved the clean peels and cores instead of throwing them away.
You’ll want to start with scraps from good, clean apples. Avoid using moldy, rotten, or questionable pieces.
This was especially easy for me because I was already working through so many apples at once. I just kept setting my scraps aside as I worked.
2. Fill Your Jar
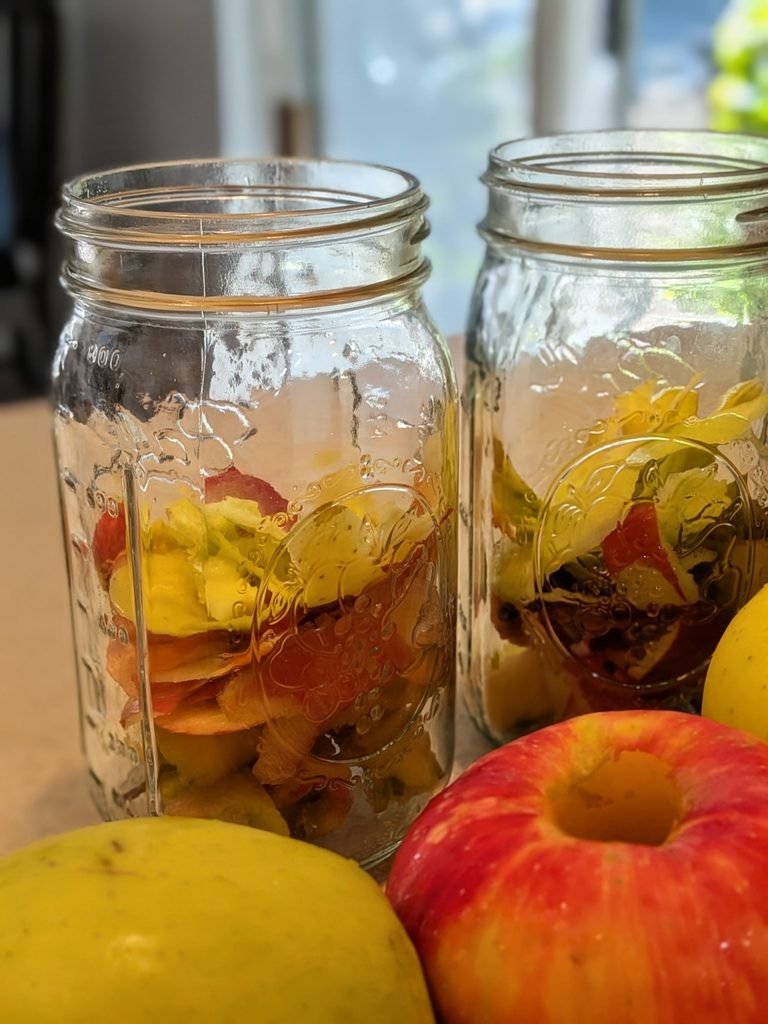
Place the apple peels and cores into a clean glass jar. I like to fill the jar about half to two-thirds full, leaving plenty of room for water and fermentation.
Don’t pack the scraps down too tightly.
3. Make Your Sugar Water
For every cup of water you’re using, dissolve approximately 1 tablespoon of sugar into it.
You can dissolve the sugar in a small amount of warm water first and then add the remaining water.
Pour the sugar water over the apple scraps until they’re completely covered.
4. Keep Everything Under the Water
This part is important!
You want the apple scraps to remain underneath the liquid as much as possible. Pieces floating above the water are much more likely to develop mold.
A glass fermentation weight works perfectly for this. If you don’t have one, use another clean, food-safe method to keep the apples submerged.
5. Cover the Jar
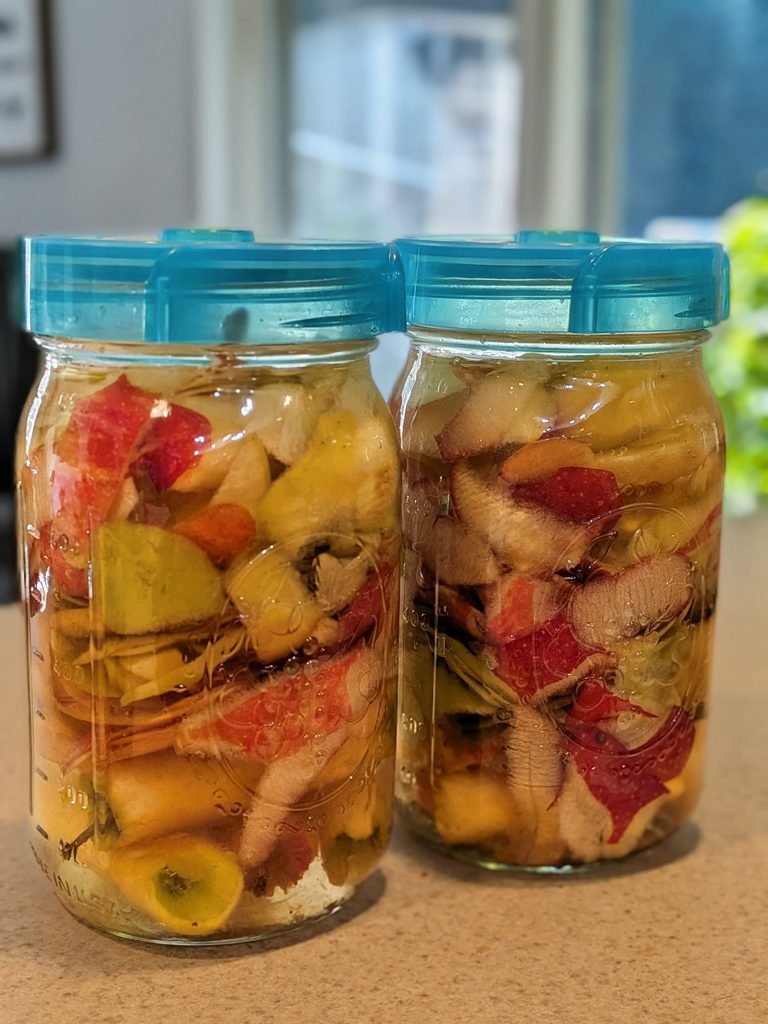
For my jars, I actually used fermentation lids that I found tucked away in the cabinet. I had forgotten I even had them, so this was the perfect excuse to pull them out and put them to use!
Fermentation lids are great for projects like this because they allow gases created during fermentation to escape without having to leave the jar completely open to the air.
If you don’t have fermentation lids, that’s completely fine. You can simply cover the opening of your jar with cheesecloth, a coffee filter, or another clean breathable cloth and secure it with a rubber band or canning jar ring.
Use whatever method works best with what you already have on hand. Apparently, sometimes it pays to dig through the back of the kitchen cabinets!
6. Let It Ferment
Place the jar somewhere at room temperature and out of direct sunlight.
During the first stage, you’ll begin to notice bubbles and signs of fermentation. Give the mixture a stir regularly and continue making sure the apple pieces stay beneath the liquid.
Depending on your kitchen temperature and fermentation activity, this first stage will generally take around 1–3 weeks.
Don’t panic if things look a little strange. Fermentation isn’t always pretty!
What you don’t want to see is fuzzy mold or colored growth. If you see obvious fuzzy mold, discard the batch rather than trying to salvage it.
7. Strain Out the Apples
Once the bubbling has slowed and the liquid smells fermented, strain out all of the apple peels and cores.
At this point, those scraps have officially done their job. Mine can finally head to the compost pile!
Pour the strained liquid back into a clean glass jar.
8. Let It Ferment Again
Cover the jar with your breathable cloth again and place it back in its spot.
Now comes the second stage of fermentation, when the liquid develops that sour vinegar flavor.
Let it sit for another 2–4 weeks or longer, tasting it occasionally. You’ll notice the smell and flavor becoming increasingly vinegary.
You may also see a cloudy or jelly-like layer develop. This can be the “mother” of vinegar, and it’s a normal part of vinegar fermentation.
9. Taste and Bottle
Once your vinegar has a nice, tangy flavor that you’re happy with, strain it again if desired and transfer it into a clean glass bottle or jar for storage.
And that’s it!
Something that started as a pile of apple peels and cores has now turned into another useful item for the pantry.
How Long Does Homemade Apple Scrap Vinegar Take?
Plan on roughly 4–6 weeks or more from start to finish.
Fermentation isn’t an exact science, and the temperature of your home, the apples, and other factors can affect how quickly everything happens.
Rather than watching the calendar too closely, watch what’s happening inside the jar and taste the vinegar as it gets closer to being finished.
An Important Canning Safety Note
Do not use homemade apple scrap vinegar for water-bath canning or other preservation recipes that require vinegar with a specific acidity.
The acidity of homemade vinegar isn’t standardized or tested the way commercially produced 5% acidity vinegar is. For my canning recipes, I always use commercially produced vinegar with the acidity specified in a tested recipe.
Homemade vinegar is better reserved for everyday kitchen uses where a precise acidity level isn’t necessary.
Ways to Use Homemade Apple Scrap Vinegar
Once it’s finished, you can use your homemade vinegar for things like salad dressings, marinades, sauces, homemade mayonnaise, or other everyday recipes where vinegar adds a little brightness and tang.
I especially love that this is something I can make from an ingredient that would otherwise have been thrown away.
Apple Season on the Homestead
Those 60 pounds of apples have certainly kept me busy, but they’ve also filled our pantry with so many good things.
If you’re working through your own pile of fall apples, be sure to check out the rest of my apple series:
60 Pounds of Apples: What I’m Making This Apple Season
How to Water-Bath Can Homemade Applesauce
Homemade Apple Fruit Leather From Applesauce
How to Can Homemade Apple Pie Filling
I’ll continue adding to this list as more apple projects make their way from my kitchen to the blog.
From canned applesauce to warm apple sourdough slathered in butter, and now jars of vinegar quietly fermenting away, I’d say those 60 pounds of apples are being put to good use.
I have to admit, watching a pile of scraps turn into something useful instead of heading straight to the trash makes all that apple peeling feel just a little more worthwhile.
From our kitchen to yours,
Eliza