
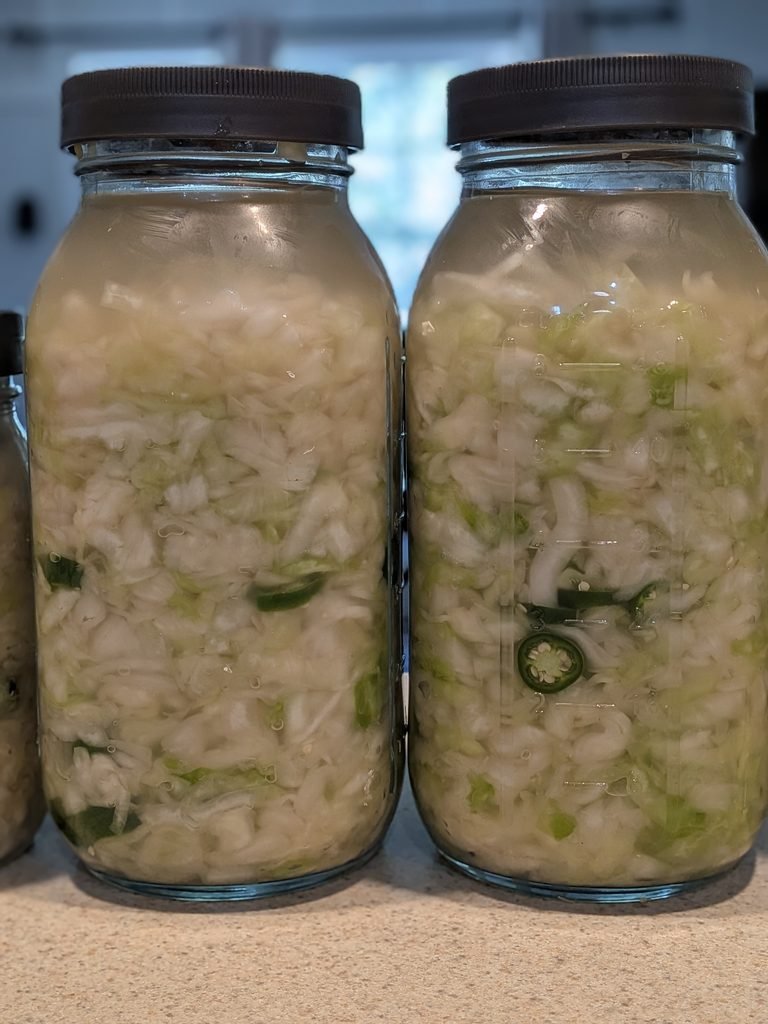
How We Make a Year’s Worth of Sauerkraut with Fresh Cabbage, Garlic, and Jalapeños
This post contains affiliate links. I may earn a small commission at no extra cost to you. Thanks for supporting Patriot Street Homestead!
Every fall, when those giant sauerkraut cabbages start showing up at the grocery store, I know exactly what time it is. It’s sauerkraut-making season!
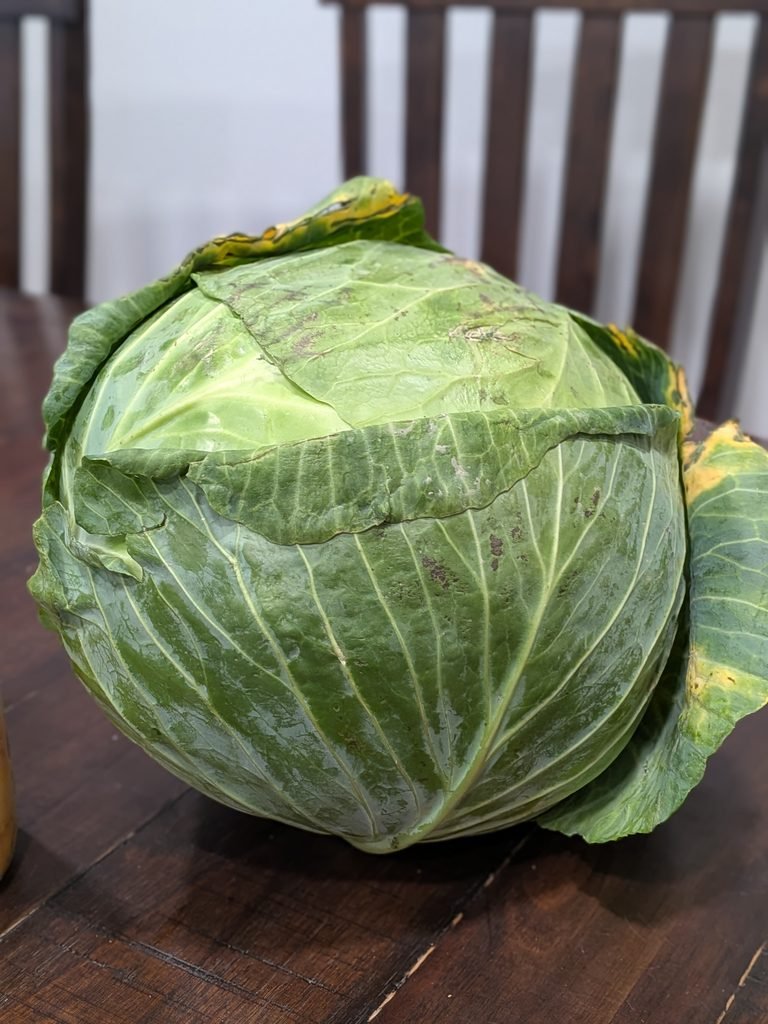
This weekend, I brought home a whopping 19-pound cabbage. Yes, you read that right. Nineteen pounds of cabbage! Believe it or not, that one enormous cabbage will help keep our family stocked with homemade sauerkraut for the entire year.
I only make sauerkraut once a year, when the big cabbages go on sale. It’s become one of those annual kitchen traditions that I look forward to, even though my hands might disagree by the time we’re finished.
In fact, we’re just now finishing up our very last jar of sauerkraut from last year’s batch. Talk about perfect timing!
Our family loves homemade sauerkraut. We eat it straight out of the jar, pile it onto grilled brats, and enjoy it as a simple fermented addition to our meals. We also love adding garlic and jalapeños to ours for a little extra flavor.
If you’ve never made sauerkraut before, don’t let the fermentation process intimidate you. It’s surprisingly simple, requires very few ingredients, and is a wonderful way to preserve cabbage.
Why We Make Our Own Sauerkraut
One of the biggest reasons I love making sauerkraut at home is knowing exactly what’s going into it.
Traditional sauerkraut requires just two ingredients: cabbage and salt. That’s it!
Of course, our family likes to take things a little further by adding fresh garlic and jalapeños. The garlic adds wonderful flavor, while the jalapeños give it a little kick without being overwhelming.
But if you prefer traditional sauerkraut, you can absolutely leave those out.
Another reason we enjoy homemade sauerkraut is the potential gut-health benefits. Naturally fermented sauerkraut can contain beneficial live microorganisms, and fermented foods can be a tasty addition to a varied diet.
Plus, homemade sauerkraut tastes delicious! It has that wonderful tangy crunch that goes perfectly with so many meals.
Making Sauerkraut Is a Family Affair (and a Workout!)
Let me tell you something about making sauerkraut with a 19-pound cabbage.
Your hands are going to get tired!
Once the cabbage is shredded and salted, you need to massage and squeeze it to help release its natural juices. This creates the brine that allows the cabbage to ferment.
Sounds easy enough, right?
Well, try doing that with nearly 19 pounds of cabbage!
After a while, you’ll start wondering whether you accidentally signed up for an arm workout instead of an afternoon of food preservation.
This is the perfect time to recruit the family!
Everyone can take turns massaging the cabbage, squeezing it, and working that salt into the leaves. Many hands make light work, especially when those hands are getting tired.
It’s also a wonderful opportunity to get the kids involved in food preservation. Learning how to make something as simple as sauerkraut is a skill they can carry with them for years.
And honestly, having a few extra sets of hands makes the whole process much more enjoyable.
How to Make Homemade Sauerkraut
Making homemade sauerkraut is actually pretty simple! The most important thing is getting the correct ratio of salt to vegetables. Instead of following a recipe with exact amounts, I weigh my ingredients and calculate how much salt I need.
This method works whether you’re making a small batch with a regular head of cabbage or tackling a giant 19-pound cabbage like I did!
Ingredients
- Fresh cabbage (any amount)
- Fresh garlic, chopped or sliced (optional)
- Fresh jalapeños, sliced (optional)
- Non-iodized salt (2.5% of the total vegetable weight)
That’s it! You can make as much or as little as you’d like.
Step 1: Prepare Your Vegetables
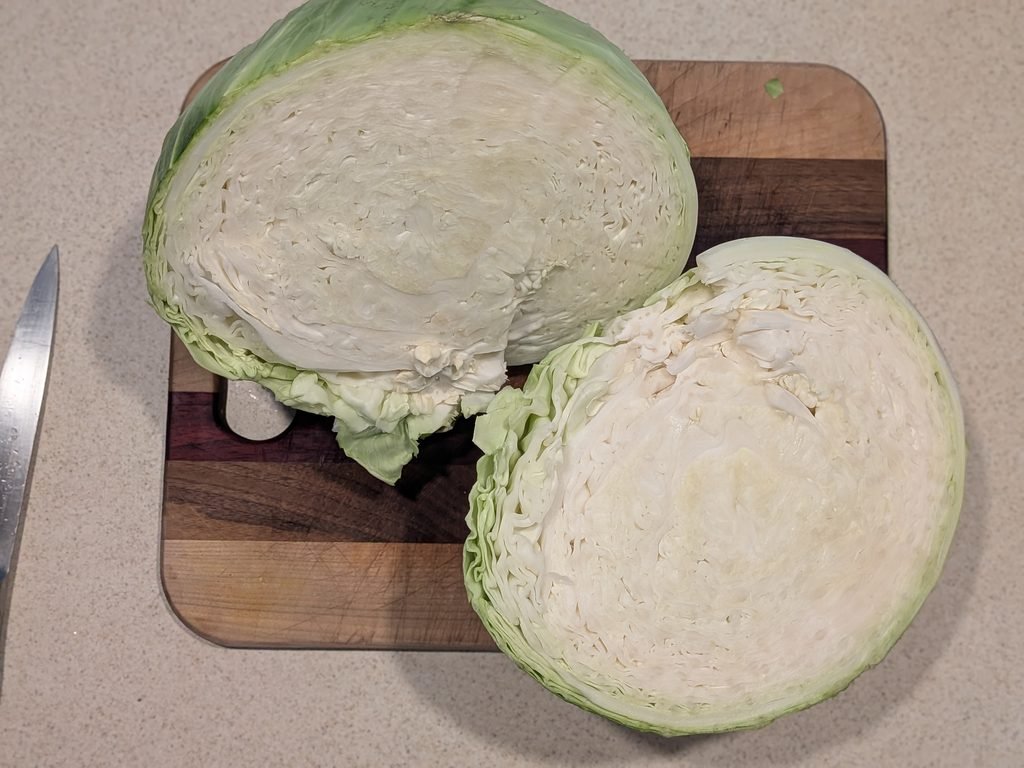
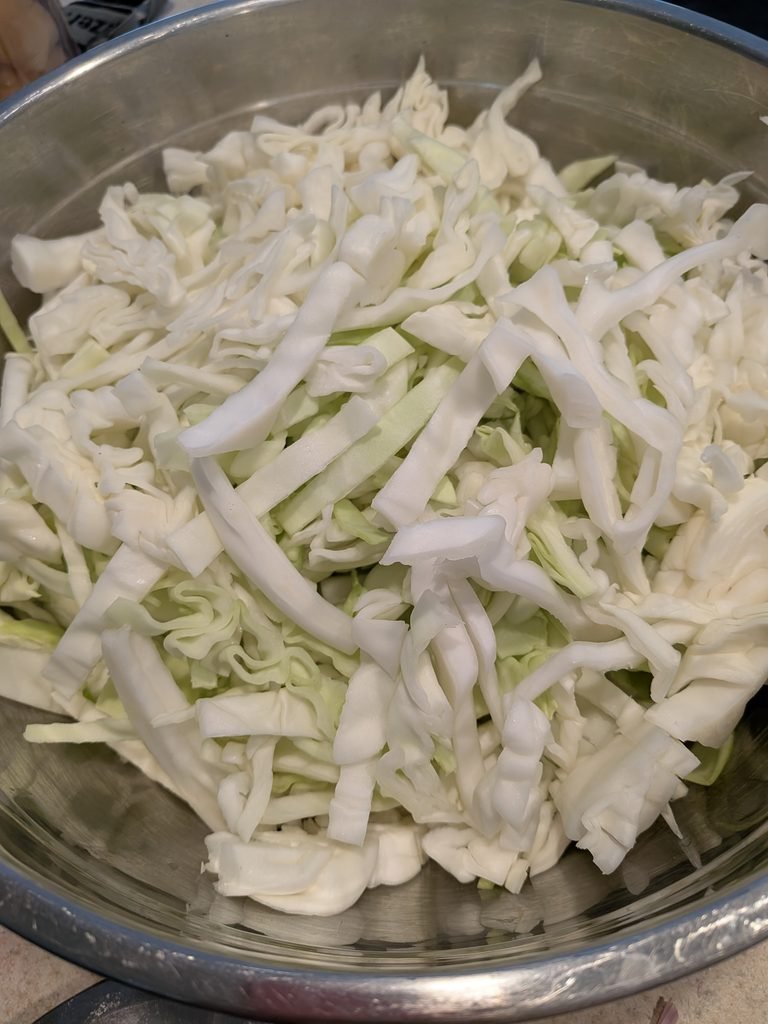
Start by removing the damaged outer leaves from your cabbage. Cut it into manageable pieces, remove the core, and shred the cabbage into thin strips.
If you’re adding garlic and jalapeños like we do, go ahead and prepare those as well.
I like to slice the jalapeños and chop the garlic so the flavors can spread throughout the sauerkraut.
Step 2: Weigh Your Vegetables and Calculate the Salt
This is probably the most important step, but don’t worry, it’s easy!
Once everything is chopped and ready, I weigh all of my vegetables together. That includes the shredded cabbage, garlic, and jalapeños.
I then multiply the total weight by 0.025 (which is 2.5%) to figure out exactly how much salt to add.
For example:
- If your cabbage, garlic, and jalapeños weigh 2,000 grams total:
- Multiply 2,000 × 0.025 = 50
- You’ll need 50 grams of salt.
Another example: If your vegetables weigh 5,000 grams, you’ll need 125 grams of salt.
It’s that simple!
I recommend using a kitchen scale that measures in grams because it makes the calculations much easier and more accurate.
Tip: Be sure to weigh your vegetables after removing the cabbage core and any outer leaves you won’t be using. You only want to calculate the salt based on the vegetables actually going into your sauerkraut.
Step 3: Add the Salt and Massage the Cabbage
Once you’ve calculated your salt, sprinkle it evenly over your shredded cabbage, garlic, and jalapeños.
Give everything a good toss to distribute the salt, then let it sit for about 15–20 minutes.
Now comes the workout!
Using clean hands, begin squeezing and massaging the cabbage. As you work the salt into the vegetables, you’ll notice the cabbage starting to soften and release liquid.
Keep massaging until you have plenty of natural brine. This is the liquid that will cover your cabbage during fermentation.
And believe me, if you’re working with 19 pounds of cabbage, this is the perfect time to get the whole family involved!
Your hands will get tired, so don’t be afraid to take turns. It’s a great way to get everyone helping in the kitchen while teaching a valuable food preservation skill.
Once your cabbage has softened and released plenty of liquid, you’re ready to start packing your jars!
Step 4: Pack the Jars
Begin transferring the cabbage into your clean mason jars.
Pack it down firmly as you go, pressing out air pockets and encouraging the brine to rise above the cabbage.
Pour any remaining liquid from your mixing bowl into the jars.
Make sure the cabbage stays completely submerged beneath the brine.
Leave enough headspace for the cabbage and brine to expand during fermentation, generally at least 1–2 inches, following your fermentation kit’s directions.
If you don’t have enough natural brine, allow the salted cabbage more time to release liquid. If necessary, top up with a 2% saltwater brine made with 20 grams of salt per liter of water.
Step 5: Add Fermentation Springs and Lids
This is where my fermentation supplies come in handy!
I use fermentation lids and springs to help keep the cabbage submerged beneath the brine while allowing gases to escape as the sauerkraut ferments.
The springs help hold everything down, which is important because any cabbage exposed above the brine can develop mold.
I love using mason jars for fermenting because they’re easy to fill, store, and check throughout the process.
If you’re interested in making your own sauerkraut, here’s a fermentation kit with springs and lids that’s very similar to the one I use.
Mason Jar Fermentation Kit with Springs and Lids
This isn’t the exact kit I own, but it’s a very similar setup and a great option for anyone wanting to try fermenting at home.
Step 6: Let the Sauerkraut Ferment
Place your jars on a tray or baking sheet in a cool location out of direct sunlight.
An ideal fermentation temperature is around 65–72°F.
During the first few days, you should begin noticing bubbles forming in the jars. This is a sign that fermentation is underway!
Check the jars regularly to make sure the cabbage remains submerged and the fermentation lids are functioning properly.
Sauerkraut generally takes around 3–4 weeks to ferment, although the exact timing depends on the temperature, batch size, and your flavor preferences.
As it ferments, the cabbage becomes increasingly tangy and develops that familiar sauerkraut flavor.
Step 7: Refrigerate and Enjoy
Once the sauerkraut has finished fermenting, remove the fermentation springs, secure the jars with regular lids, and move them to the refrigerator.
Cold temperatures slow fermentation considerably and help preserve that delicious tangy flavor.
Always use clean utensils when serving and keep the remaining sauerkraut submerged in its brine.
Our Favorite Ways to Eat Homemade Sauerkraut
Around here, sauerkraut doesn’t last long once a jar is opened.
We enjoy it in several different ways.
Straight from the jar: Sometimes the simplest way is the best! We love grabbing a forkful of cold, crunchy sauerkraut to enjoy alongside a meal.
On grilled brats: This is probably one of our favorite ways to eat it. A grilled brat topped with a generous helping of homemade sauerkraut is hard to beat.
Alongside dinner: Sauerkraut makes an easy side dish with pork, sausage, and other hearty meals.
Why I Love Making a Big Batch Once a Year
Food preservation is a big part of life here.
Whether I’m canning applesauce, freeze-drying vegetables, dehydrating fruit, or fermenting cabbage, I love having homemade food available for my family throughout the year.
There’s something pretty convenient about taking one giant cabbage and turning it into jars of delicious sauerkraut.
Making it once a year works well for our family. We plan around the arrival of those enormous grocery store cabbages, spend an afternoon shredding and massaging, and get another batch fermenting.
Of course, a 19-pound cabbage also means a pretty impressive pile of dishes afterward.
That’s just part of the fun, right?
A Few Tips for First-Time Sauerkraut Makers
If you’ve never fermented cabbage before, here are a few things I’ve learned:
- Start small. You definitely don’t need a 19-pound cabbage for your first attempt!
- Use the right amount of salt. Weighing your cabbage and salt is more reliable than guessing.
- Keep everything submerged. This is one of the most important parts of successful fermentation.
- Be patient. Good sauerkraut takes time to develop its flavor.
- Get the family involved. Seriously. Your hands will thank you!
Another Year of Homemade Sauerkraut
Our newest batch of sauerkraut is now underway, and I love knowing we’ll have plenty to enjoy once it’s ready.
It’s funny how something as simple as cabbage and salt can become such a favorite in our home.
From topping grilled brats to sneaking a few bites straight from the jar, homemade sauerkraut is one of those things our family never seems to get tired of.
And now that we’ve almost finished last year’s final jar, the timing couldn’t be better.
If you’ve been wanting to try fermenting vegetables at home, sauerkraut is a great place to start.
Just remember to invite a few extra helpers over when it’s time to massage the cabbage!
Happy fermenting!
From our homestead to yours,
Eliza