
This post contains affiliate links. I may earn a small commission at no extra cost to you. Thanks for supporting Patriot Street Homestead!
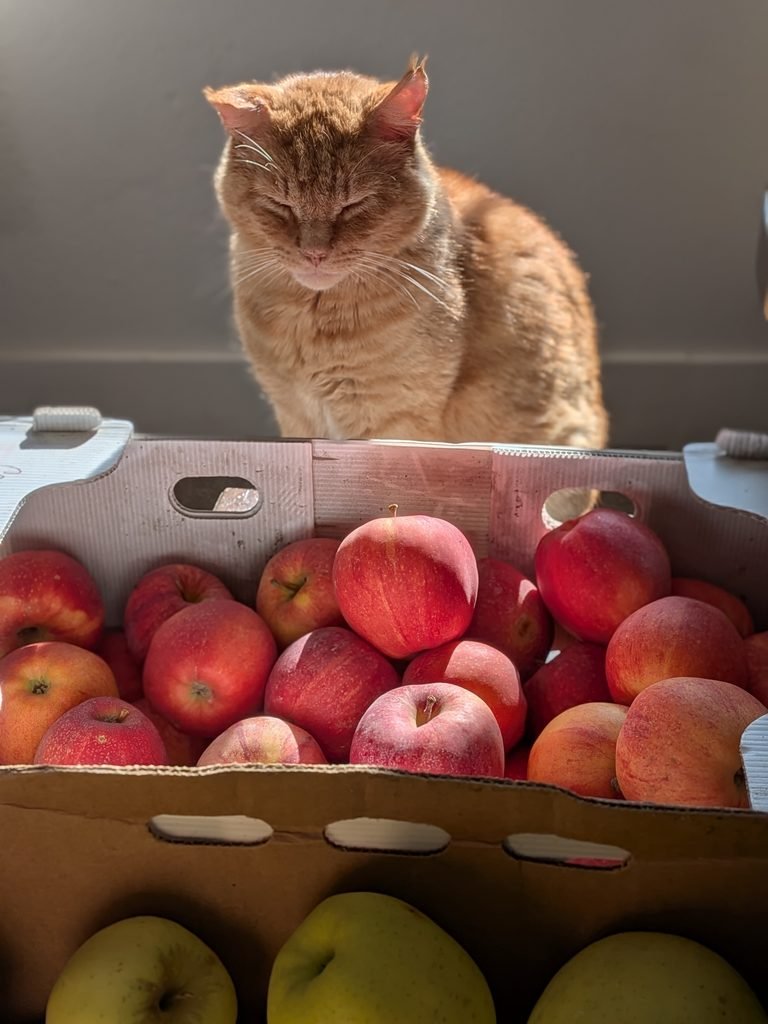
Apple season is in full swing around here, and I am slowly making my way through the 60 pounds of apples I recently brought home from our co-op.
Since our own apple tree isn’t producing this year after a much-needed heavy pruning, the co-op came to the rescue with Honeycrisp, Gala, and Golden Delicious apples. I shared more about that giant apple haul in my Apple Season on the Homestead post, along with all of the plans I had for preserving them.
And now it’s time to start turning those plans into a pantry full of apples.
One of the first things on my list was homemade applesauce.
Why I Love Canning Applesauce
Applesauce is one of those simple pantry staples that’s worth making when apples are plentiful. We can eat it straight from the jar, serve it alongside dinner, use it in baking, or turn it into other recipes.
As you’ll see in an upcoming post, I saved some of this batch before canning so I could turn it into homemade apple fruit leather in the dehydrator.
Water-bath canning also means I can put jars on the pantry shelf instead of taking up more precious freezer space, which always seems to be in short supply by the end of garden season.
Using a Mix of Apples for Homemade Applesauce
For this batch, I used a combination of:
- Honeycrisp
- Gala
- Golden Delicious
I love using a mixture rather than sticking with one variety. Each apple brings a slightly different flavor and sweetness to the finished sauce.
These varieties are already naturally sweet, so you may find that you don’t need much or any additional sugar. Personally, I prefer to leave sugar out of a recipe whenever I can.
What You’ll Need
Ingredients
- Apples — Honeycrisp, Gala, Golden Delicious, or a combination
- Water
- Sugar, optional
- Cinnamon, optional
- Lemon juice, optional
Canning Supplies
- Water-bath canner
- Pint or quart canning jars
- New canning lids and bands
- Jar lifter
- Canning funnel
- Bubble remover/headspace tool
- Large stockpot
- Food mill or sieve, if you prefer smooth applesauce
How to Make Homemade Applesauce
Start by washing, peeling, and coring your apples.
Slice the apples and place them into a large stockpot. Add about 1 cup of water to help prevent the apples from sticking as they begin to cook.
Cover the apples with a lid and stir occasionally so they don’t scorch. Depending on the variety and ripeness of your apples, it can take roughly 5–20 minutes for them to become tender enough to make into sauce.
Once they’re soft, it’s time to decide what kind of applesauce family you belong to: smooth or chunky.
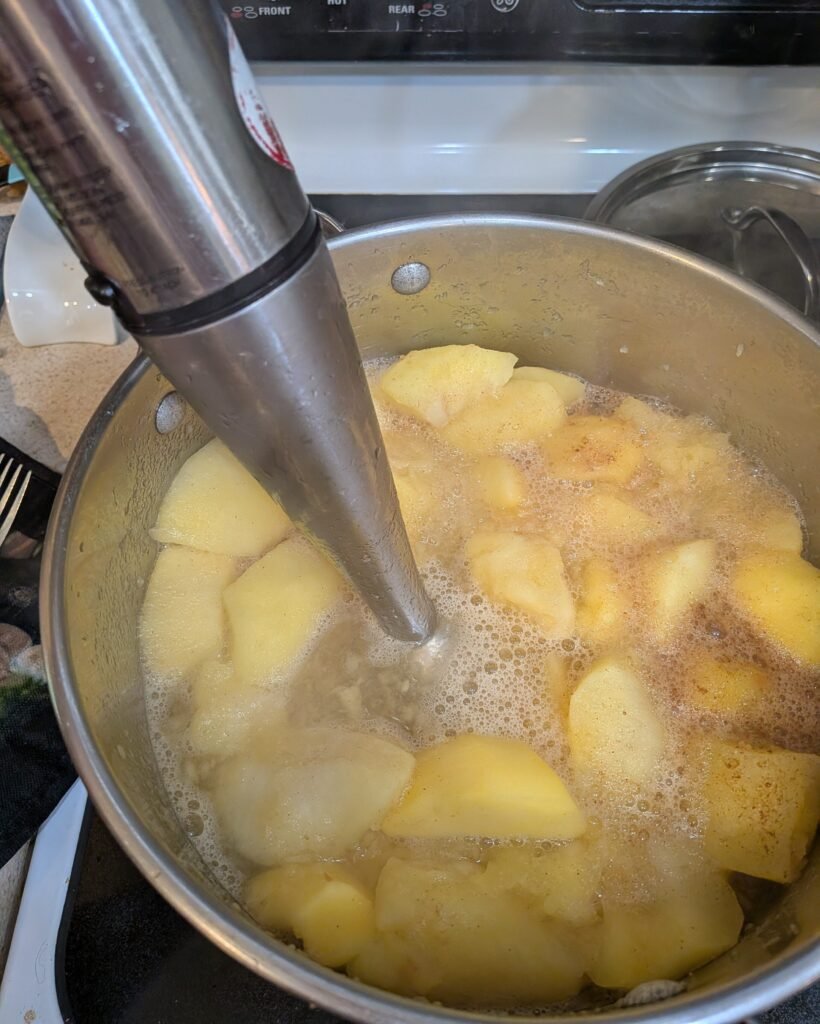
For smooth applesauce, run the cooked apples through a food mill or sieve. I like to use an immersion blender because I think it’s the easiest, but either way works. If you like a chunkier homemade sauce, you can leave more texture.
Taste your applesauce before adding sugar or spices. With sweet varieties like Honeycrisp, Gala, and Golden Delicious, you may decide it doesn’t need any at all.
Sugar is optional for safely canning applesauce. If you would like it sweeter, the tested recipe allows you to add sugar according to your preference.
Preparing the Applesauce for Canning
Once your applesauce has reached the consistency and sweetness you like, you’re ready to can!
Ladle the hot applesauce into hot jars, leaving ½ inch of headspace.
Remove air bubbles, adjust the headspace if necessary, and wipe the rims of your jars clean.
Center the lids on the jars and apply the bands according to the lid manufacturer’s directions.
Now they’re ready for the water-bath canner.
Water-Bath Canning Applesauce
Place your filled jars into the water-bath canner, making sure the jars remain upright and are adequately covered with water.
Once the water reaches a vigorous boil, begin your processing time.
Processing Times
For elevations of 0–1,000 feet:
- Pints: 15 minutes
- Quarts: 20 minutes
For 1,001–3,000 feet:
- Pints: 20 minutes
- Quarts: 25 minutes
For 3,001–6,000 feet:
- Pints: 20 minutes
- Quarts: 30 minutes
For elevations above 6,000 feet:
- Pints: 25 minutes
- Quarts: 35 minutes
Always use the processing time for your elevation. These times come from the National Center for Home Food Preservation’s tested applesauce canning instructions.
Once the processing time is complete, turn off the heat and remove the canner lid. Wait 5 minutes before carefully lifting the jars from the canner.
Place them upright on a towel or protected surface and let them cool undisturbed for 12–24 hours.
And then comes one of my favorite sounds during canning season—the little ping of sealing jars.
Check Your Seals
Once the jars have completely cooled, check each seal before storing them.
Remove the bands and make sure each lid is firmly sealed. Any jar that didn’t seal properly should be refrigerated rather than stored on the pantry shelf.
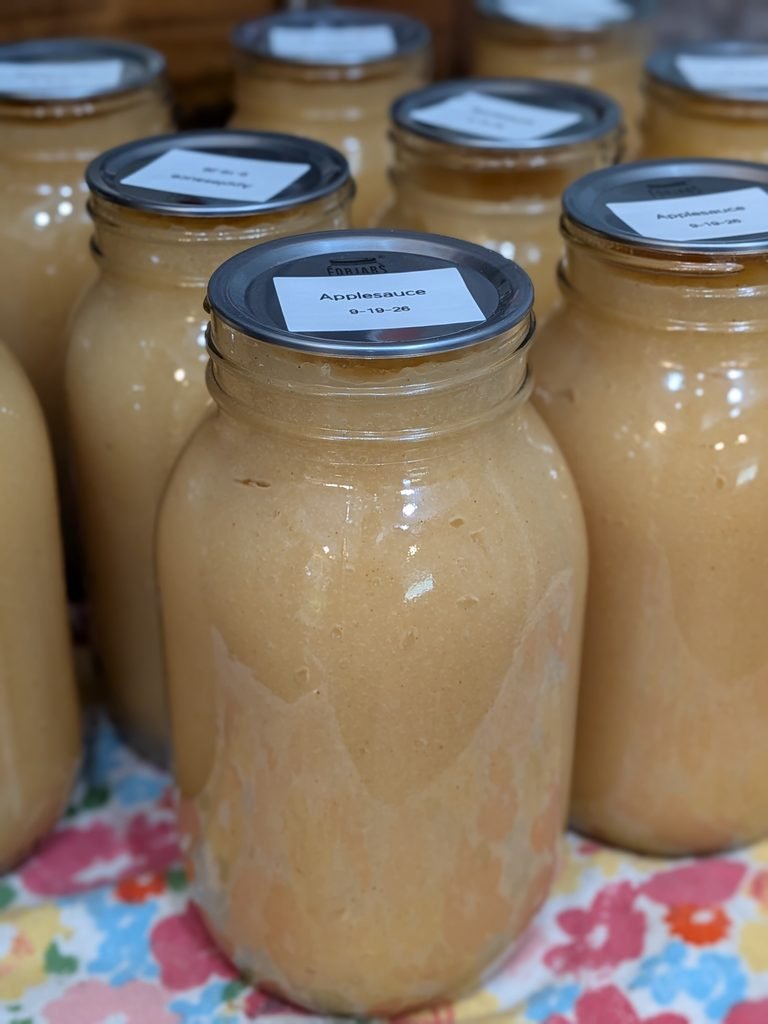
Label your jars with the contents and date, and they’re ready to join the rest of the season’s harvest in the pantry.
How Much Applesauce Will You Get?
According to the tested canning recipe, approximately 21 pounds of apples makes about 7 quarts of applesauce, while about 13½ pounds makes approximately 9 pints.
Your exact yield can vary depending on your apples and the consistency of your finished sauce.
One Batch of Apples, More Than One Project
This was only one stop for my 60-pound apple haul.
While I was making this batch, I set aside some of the fresh applesauce before canning it because I had another project in mind: homemade apple fruit leather.
I’ll be sharing exactly how I turned this same applesauce into fruit leather using my dehydrator in another post.
I’ve also been putting the freeze-dryer to work making freeze-dried apple slices, so those apples are finding their way onto our shelves in several different forms this year.
That’s one of my favorite parts of preserving a big seasonal haul. You don’t have to choose just one method. A single box of apples can become jars of applesauce, quick snacks, baking ingredients, and shelf-stable food we’ll be enjoying long after apple season is over.
For now, I’m pretty happy seeing another row of homemade applesauce sitting on the pantry shelf.
Only a few more pounds of apples to go…give or take.
From our homestead to yours,
Eliza
More Apple Recipes & Preservation Ideas
Apple season has kept me busy this year! If you’re looking for more ways to use and preserve fresh apples, here are a few more from our homestead:
60 Pounds of Apples: Apple Season on the Homestead
See what I’m doing with our 60-pound apple haul and all the different ways I’m putting those apples to use.
Home-Canned Apple Pie Filling
Keep jars of homemade apple pie filling on the shelf for an easy dessert whenever you need one.
Homemade Apple Fruit Leather
Turn homemade applesauce into an easy dehydrated snack that’s perfect for using up an abundant apple harvest.