
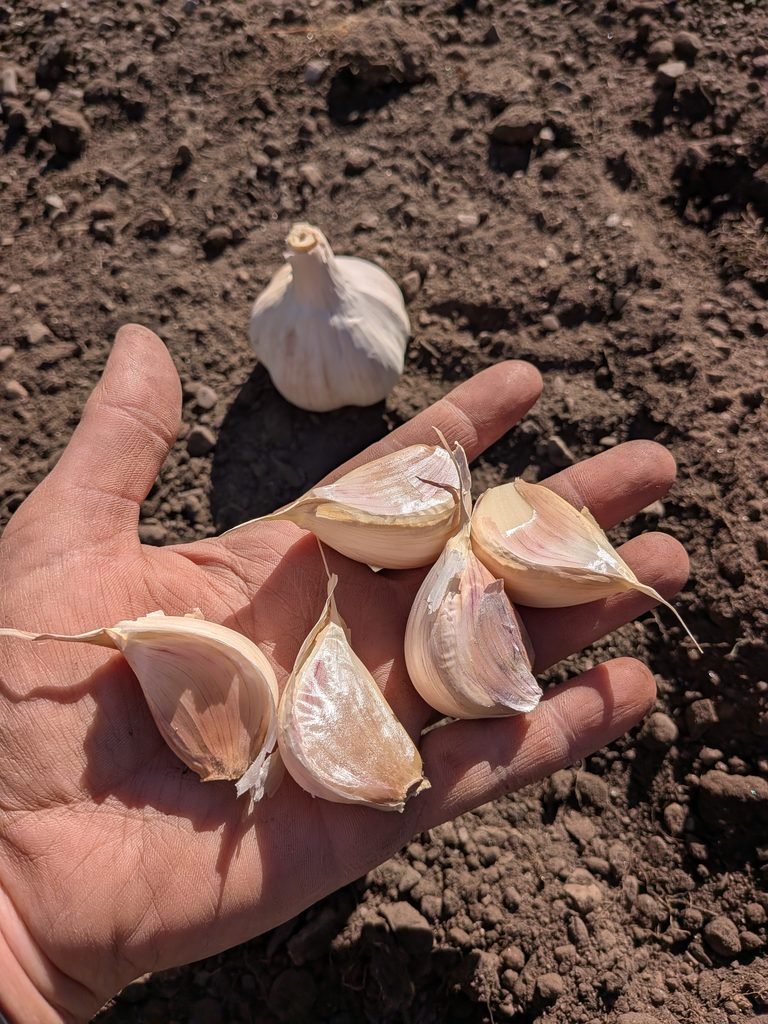
If there’s one thing we use plenty of in our homestead kitchen, it’s garlic! From homemade soups and sauces to just about anything we’re cooking for dinner, garlic is a staple around here. If you’ve ever grown your own garlic, you know there’s nothing quite like pulling those beautiful bulbs out of the ground after months of waiting.
Fall is here in North Idaho, which means it’s time to get another round of garlic tucked into the garden before winter arrives!
This will be my fourth year planting garlic, and while I’m certainly no expert, I feel like I’m finally figuring out which varieties work best for our family. Now, if I could just figure out exactly how much garlic we need to plant each year, we’d be in business!
Why Plant Garlic in the Fall?
One of the things I love about growing garlic is that you plant it in the fall, let it spend the winter tucked away in the garden, and harvest it the following summer.
Here in North Idaho, we’re in gardening Zone 6a, and October is generally a great time to plant garlic. The goal is to get those cloves into the ground a few weeks before the soil freezes, giving them time to establish roots without encouraging too much growth above ground.
Garlic actually benefits from a period of cold weather, especially hardneck varieties. That cold exposure helps the plants develop bulbs when the warmer weather returns.
Once it’s planted and mulched, there really isn’t much to do until spring!
The Two Garlic Varieties I’m Planting This Year
After trying different garlic over the past few years, I’ve finally settled on two hardneck varieties that I really enjoy growing.
Music Garlic
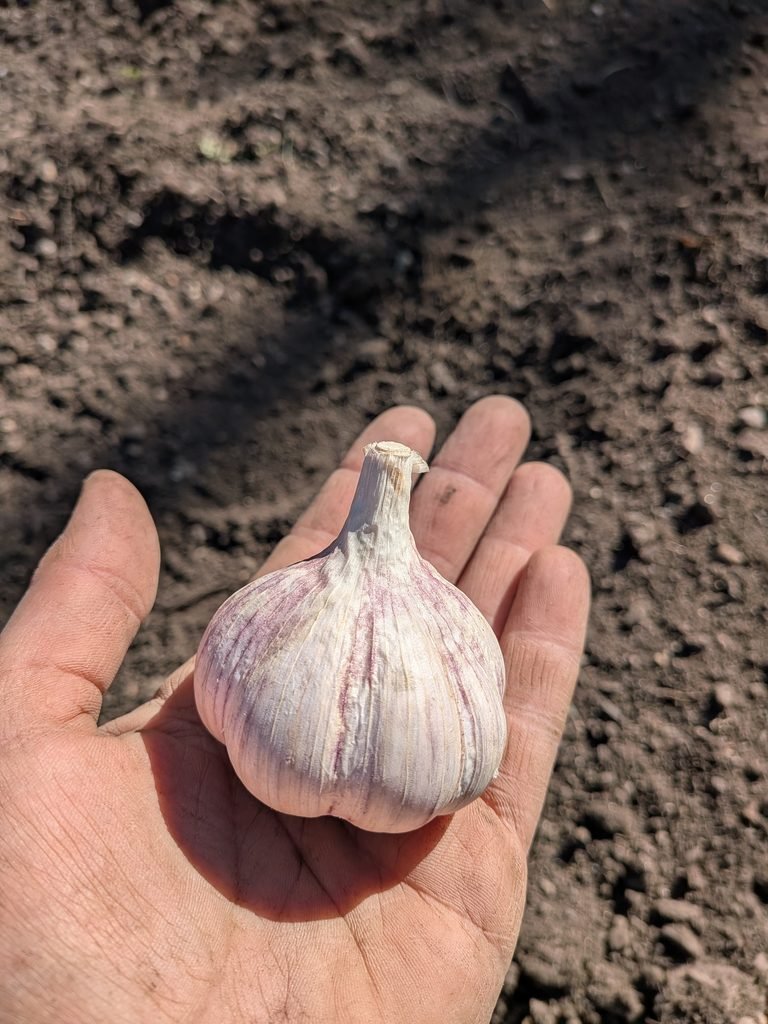
Music is a hardneck garlic variety known for its large cloves, beautiful white bulbs, and rich garlic flavor.
One thing I especially appreciate about Music garlic is its large cloves. When you’re cooking as much as we do around here, having fewer tiny cloves to peel is always a bonus!
Music is also known for growing well in colder climates, making it a great choice for our North Idaho garden.
Chesnok Red Garlic
Chesnok Red is another hardneck variety, but it has a slightly different personality.
It’s a purple-striped garlic with a wonderful flavor that’s especially delicious when roasted. It has a rich, slightly sweet taste when cooked, making it a great addition to all kinds of homemade meals.
I love having two different varieties because it gives us a little variety in the kitchen while still growing garlic that does well in our climate.
Both varieties also produce garlic scapes in late spring or early summer, which is an added bonus! Those curly green stems are edible and can be used in pesto, sautéed with vegetables, or added to all kinds of recipes.
How Much Garlic Should You Plant?
Well, isn’t that the million-dollar question?
This is my fourth year growing garlic, and I’m still trying to figure out the answer!
We use a LOT of garlic in our kitchen, so you’d think I’d have a pretty good idea by now. But apparently, figuring out how much garlic a family needs for an entire year takes a little trial and error.
This year’s harvest was wonderful, so I decided to order the same amount again.
Here’s what I’m planting:
- 1 pound of Music garlic
- 1 pound of Chesnok Red garlic
- 2 pounds of seed garlic total
This is exactly how many cloves I got from each pound.
Music garlic: 38
Chesnok Red garlic: 95
Total garlic cloves planted: 133
I’ve considered increasing the amount we grow, especially since we use garlic in so many meals, but more garlic means more garden space, and those raised garden beds are already valuable real estate!
For now, I’m sticking with two pounds of seed garlic and seeing how far our harvest takes us.
If you’re trying to decide how much garlic to plant, my advice is to start with an amount that fits your available space and keep track of how much you harvest and use. You can always adjust the following year.
How to Plant Garlic in the Fall
Planting garlic is actually pretty simple, which makes it a great crop for beginner gardeners.
Here’s how I get mine into the ground each fall.
Step 1: Choose a Sunny Location
Garlic grows best in an area that receives at least six to eight hours of sunlight each day.
I plant mine in our raised garden beds, where the soil drains well and I can easily keep the area mulched.
Choose a spot where you haven’t recently grown garlic, onions, or other alliums if possible. Rotating crops helps reduce the risk of soilborne diseases.
Step 2: Prepare the Soil
Before planting, loosen the soil and remove any weeds or leftover plant debris.
Garlic prefers loose, well-draining soil that’s rich in organic matter. Adding finished compost is a great way to improve the soil before planting.
You want the roots to have plenty of room to grow without sitting in waterlogged soil throughout the winter.
Step 3: Separate the Garlic Cloves
When you’re ready to plant, gently break apart each garlic bulb into individual cloves.
Leave the papery skin on each clove, and try not to damage the base where the roots will develop.
Choose healthy, firm cloves for planting. Larger cloves generally produce larger bulbs, so I save the best ones for the garden.
Be sure to purchase disease-free seed garlic from a reputable grower rather than relying on grocery store garlic, which may not be suitable for planting. We have had wonderful results purchasing from Keene Garlic.
Step 4: Plant the Cloves
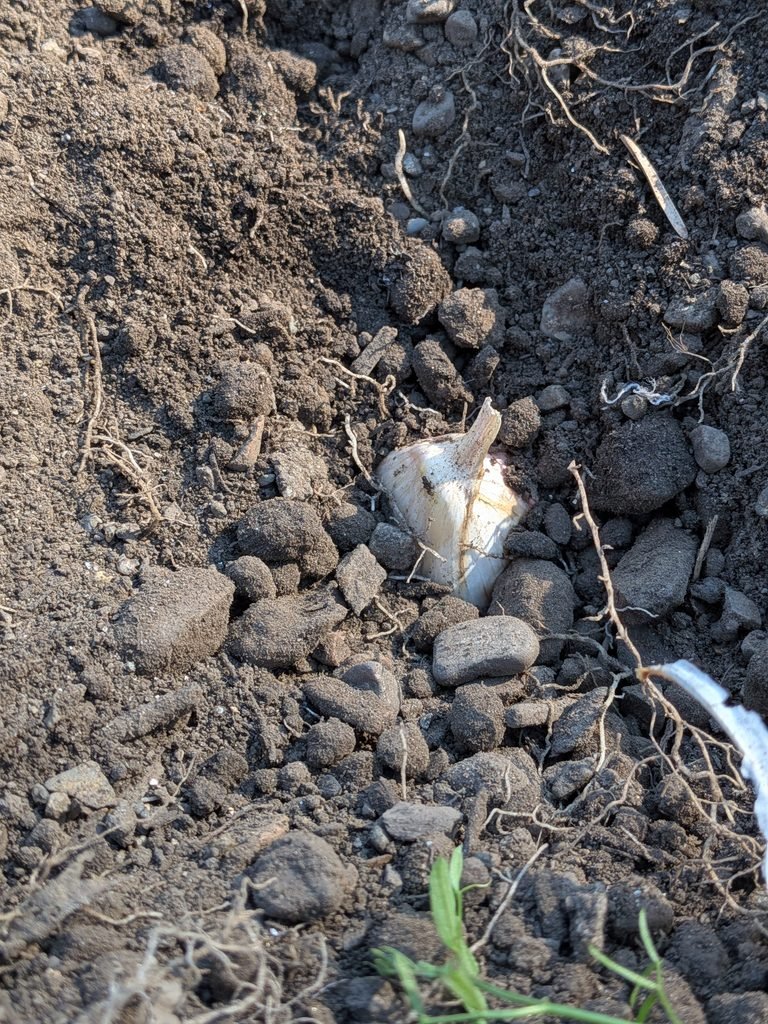
Here’s the important part: plant each clove with the pointed end facing up and the flat root end facing down.
For fall planting, a good general guideline is:
- Planting depth: About 2–3 inches of soil over the top of each clove
- Spacing: Approximately 6 inches between cloves
- Row spacing: About 8–12 inches apart
Because I’m growing in raised beds, I can make good use of the space while still giving each bulb room to develop.
Once the cloves are in place, cover them with soil and gently firm it down.
Step 5: Water the Garlic
After planting, water the bed if the soil is dry. This helps settle the soil around the cloves and encourages root development.
You want the soil to be moist but not soggy.
Once the ground freezes, garlic won’t need regular watering during winter.
Step 6: Add Mulch for Winter Protection
This is where my husband comes in!
He makes the mulch that I use to cover our garlic beds after planting. We had a large tree limb fall in a recent wind storm and he will be putting that through our chipper to make the mulch.
Mulching is especially important here in North Idaho, where our winters can get pretty cold.
A layer of approximately 3–4 inches of loose, clean organic mulch helps insulate the soil, moderate temperature changes, and suppress weeds.
Straw or clean, shredded dry leaves are common options. Avoid using material that is matted, moldy, or full of weed seeds.
The garlic will spend the winter beneath its cozy blanket of mulch, and when spring arrives, those little green shoots will begin making their appearance.
What Happens After Planting?
One of my favorite things about fall-planted garlic is that it doesn’t require much attention throughout winter.
The cloves begin establishing roots before the ground freezes. Then, as temperatures warm in spring, the green shoots emerge and start growing.
If the mulch is packed down too tightly in spring, you may need to gently loosen it so the shoots can push through.
As the garlic grows, keep the bed weed-free and water consistently during active growth, especially if spring is dry.
And then comes one of my favorite parts of growing hardneck garlic: the scapes!
Don’t Forget About Garlic Scapes!
If you’ve never grown hardneck garlic before, you’re in for a treat.
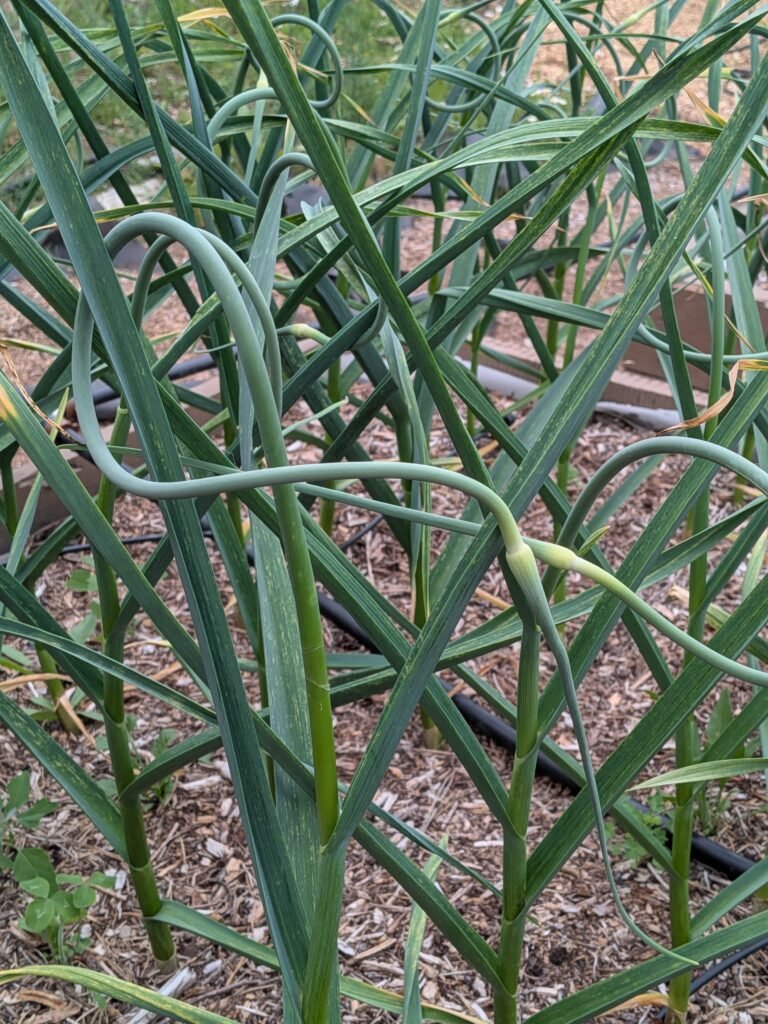
In late spring or early summer, hardneck garlic sends up a curly flower stalk called a garlic scape.
These scapes are edible, and they’re delicious!
I like that growing hardneck garlic gives us something to enjoy before the bulbs are even ready to harvest.
Cutting the scapes while they’re young and tender also helps the plant direct more energy toward bulb development.
You can chop them into meals, sauté them, make garlic scape pesto, or preserve them for later.
It’s like getting a little bonus harvest!
When Is Garlic Ready to Harvest?
Here in North Idaho, our fall-planted garlic is generally ready to harvest sometime in July, although the exact timing depends on the weather and variety.
Rather than harvesting by the calendar alone, watch the leaves.
A common sign that hardneck garlic is getting close to harvest is when the lower leaves have turned brown while several upper leaves are still green.
Gently loosen the soil with a garden fork and lift the bulbs rather than pulling hard on the stems.
After harvesting, garlic needs to cure in a dry, shaded, well-ventilated location for a few weeks before going into storage.
Properly cured garlic can last for months when stored under suitable conditions, which is exactly what we want when we’re trying to fill our pantry with homegrown food.
A Few Things I’ve Learned After Growing Garlic for Four Years
I’m still learning something new with every gardening season, and garlic is no exception.
But a few things I’ve discovered along the way are worth sharing.
Find varieties that work for your garden. I’ve settled on Music and Chesnok Red because I’ve enjoyed growing them and had a wonderful harvest this year.
Don’t stress about planting the perfect amount. I’m still figuring that one out myself! Start with what fits your garden and adjust as you learn how much your family uses.
Give your garlic plenty of room. It’s tempting to squeeze in a few extra cloves, especially when garden space is limited, but those bulbs need room to grow.
Don’t skip the mulch. Our North Idaho winters can be harsh, and I appreciate having that extra layer of protection over the garlic beds.
Keep notes! Recording how many cloves you plant, when you harvest, and how much you use can make planning for the following year so much easier.
Looking Forward to Another Garlic Harvest
There’s always a little excitement that comes with planting something in the fall, knowing that months later it’ll become part of the food we’re feeding our family.
Growing our own food is one of my favorite parts of homestead life. Not every gardening season goes exactly as planned, and I’m certainly still learning, but each year brings a little more experience and a few more lessons.
This year, I’ll be planting my two pounds of Music and Chesnok Red garlic, covering the beds with the mulch my husband makes, and trusting that come next summer, we’ll have another beautiful harvest.
Who knows? Maybe next year I’ll finally give in and dedicate a little more garden space to garlic.
Around here, I don’t think there’s such a thing as too much garlic!
Happy fall planting from our North Idaho homestead!
-Eliza
More From Our Homestead Garden
If you’re getting your garden ready for the colder months, be sure to check out some of my other gardening and food preservation posts:
- How to Prepare Your Vegetable Garden for Winter — Coming Soon
- How to Freeze Dry Garden Peppers
- Garden Planning and Seed Organization
What about you? Do you grow your own garlic? I’d love to hear which varieties you plant and how much you grow each year!