
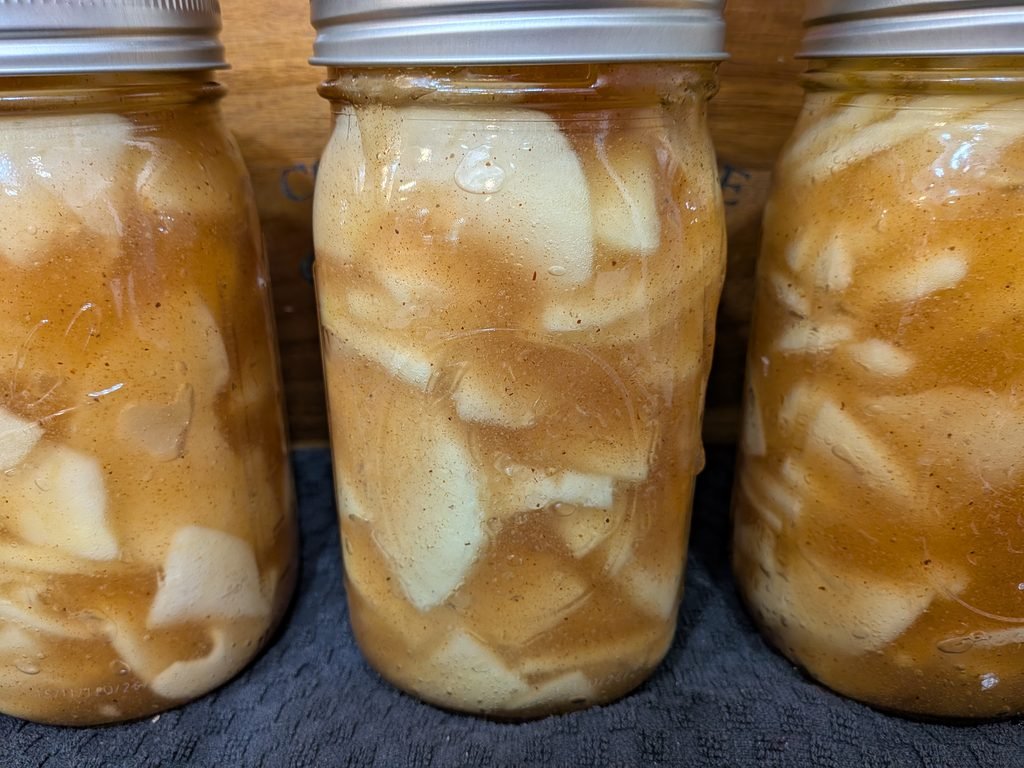
This post contains affiliate links. I may earn a small commission at no extra cost to you. Thanks for supporting Patriot Street Homestead!
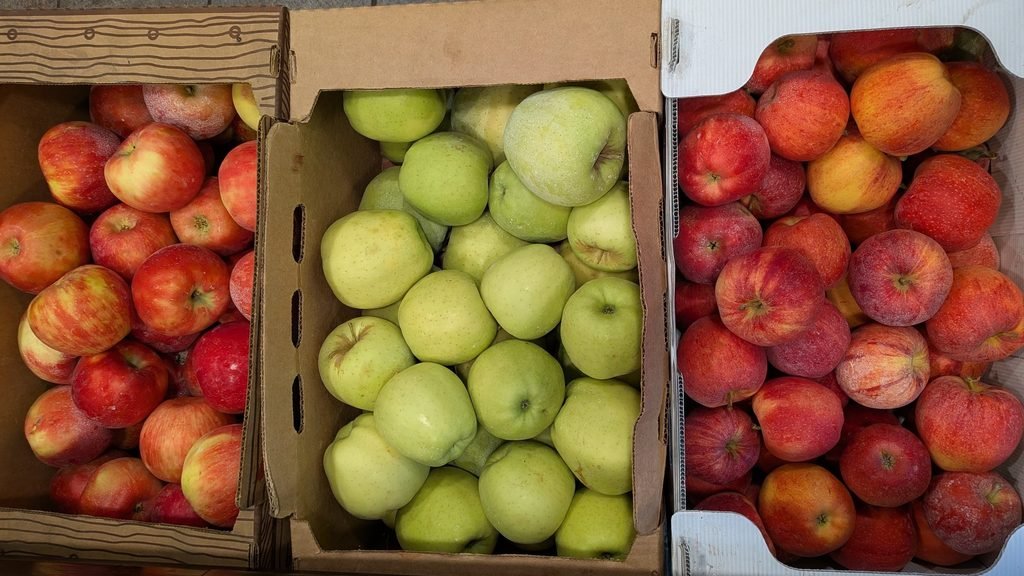
Apple season is in full swing around here, and after bringing home 60 pounds of apples from our co-op, I have plenty of preserving to do.
I shared more about our apple haul and all the ways I plan to preserve it in my Apple Season on the Homestead post, but one thing that was definitely on my list was homemade canned apple pie filling.
I absolutely love having jars of premade pie filling sitting on the pantry shelf.
It is one of those things that makes all the work during canning season completely worth it. When we have guests coming over for dinner, I need to bring a dessert somewhere, or I suddenly decide that our evening would be greatly improved by something warm and covered in ice cream, I can grab a jar off the shelf and dessert is halfway done.
No peeling apples. No standing at the counter slicing fruit. No realizing at 5:00 that I probably should have thought about dessert sometime before 5:00.
Just open a jar and you’re in business.
And homemade apple pie filling tastes SO much better than anything I could grab at the grocery store.
Why I Love Canning Apple Pie Filling
I’m a big fan of preserving foods that actually make life easier later.
Of course, I love seeing rows of beautiful jars lined up on the pantry shelves, but I especially love when those jars turn into quick meals, snacks, or desserts.
Canned apple pie filling checks all the boxes.
A quart of homemade apple pie filling can become a quick apple pie, crisp, cobbler, hand pies, or even just a warm apple topping spooned over vanilla ice cream.
Last-minute company? Apple crisp.
Need to bring dessert somewhere? Apple pie.
Kids want something sweet? Warm apples and ice cream.
It’s basically a little jar of I’ve got dessert handled.
A Note About Safely Canning Pie Filling
Pie filling is one recipe where you don’t want to simply take your favorite stovetop apple pie filling recipe and put it into canning jars.
For shelf-stable canned apple pie filling, use cook-type Clear Jel® as the thickener rather than flour or regular cornstarch. This recipe follows the tested apple pie filling guidelines from the National Center for Home Food Preservation.
Also, don’t reduce the amount of bottled lemon juice in the recipe. You can adjust spices to suit your family’s taste, but the lemon juice is part of the tested recipe and should remain the same.
Homemade Canned Apple Pie Filling
Yield: approximately 7 quarts
Ingredients
- 6 quarts blanched, sliced fresh apples
- 5 1/2 cups granulated sugar
- 1 1/2 cups cook-type Clear Jel®
- 1 tablespoon cinnamon
- 1 teaspoon nutmeg, optional
- 2 1/2 cups cold water
- 5 cups apple juice
- 3/4 cup bottled lemon juice
You’ll also need:
- 7 clean quart canning jars
- Lids and rings
- Water-bath canner
- Jar lifter
- Canning funnel
- Bubble remover/headspace tool
You can find some of my favorite canning supplies here.
Step 1: Prepare Your Apples
Wash, peel, and core your apples.
Slice the apples about 1/2-inch thick. As you work, you can place the slices in water treated with ascorbic acid to help prevent browning.
For pie filling, firm, crisp apples work best. I have a mixture of apples from our co-op this year, including Honeycrisp, Golden Delicious, and Gala, so I have plenty to work my way through!
Step 2: Blanch the Apples
Working with about 6 cups of apples at a time, place the slices into 1 gallon of boiling water.
Once the water returns to a boil, boil the apples for 1 minute.
Drain the apples and keep them warm in a covered bowl or pot while you finish blanching the remaining batches.
Step 3: Make the Pie Filling
In a large pot, combine the sugar, Clear Jel®, cinnamon, and optional nutmeg.
Add the cold water and apple juice.
Cook over medium-high heat, stirring frequently, until the mixture begins to thicken and bubble.
Add the bottled lemon juice and boil for 1 additional minute, stirring constantly.
At this point, your kitchen is going to smell like fall moved in and decided to stay awhile.
Step 4: Add the Apples
Immediately fold your warm, drained apple slices into the thickened filling.
Gently stir until all those beautiful apple slices are coated in the cinnamon-spiced mixture.
Step 5: Fill the Jars
Ladle the hot apple pie filling into clean, hot canning jars, leaving 1 inch of headspace.
Remove any air bubbles and adjust the headspace if necessary.
Wipe the jar rims clean, then apply your lids and rings according to the manufacturer’s directions.
Step 6: Water-Bath Can the Apple Pie Filling
Place the filled jars into your boiling-water canner and process according to your elevation.
Processing time for pints or quarts:
- 0–1,000 feet: 25 minutes
- 1,001–3,000 feet: 30 minutes
- 3,001–6,000 feet: 35 minutes
- Above 6,000 feet: 40 minutes
Always determine your elevation before canning and use the appropriate processing time for where you live.
After Processing
Once your jars have finished processing, remove them from the canner according to safe canning practices and allow them to cool undisturbed.
After they have completely cooled, check the seals. Label your jars with the contents and date before adding them to the pantry.
And then comes my favorite part…
Standing back and admiring another row of food we put up ourselves.
What Can You Make With Canned Apple Pie Filling?
Obviously, you can make apple pie, but don’t let the word “pie” limit you.
I love having these jars around because they can easily become:
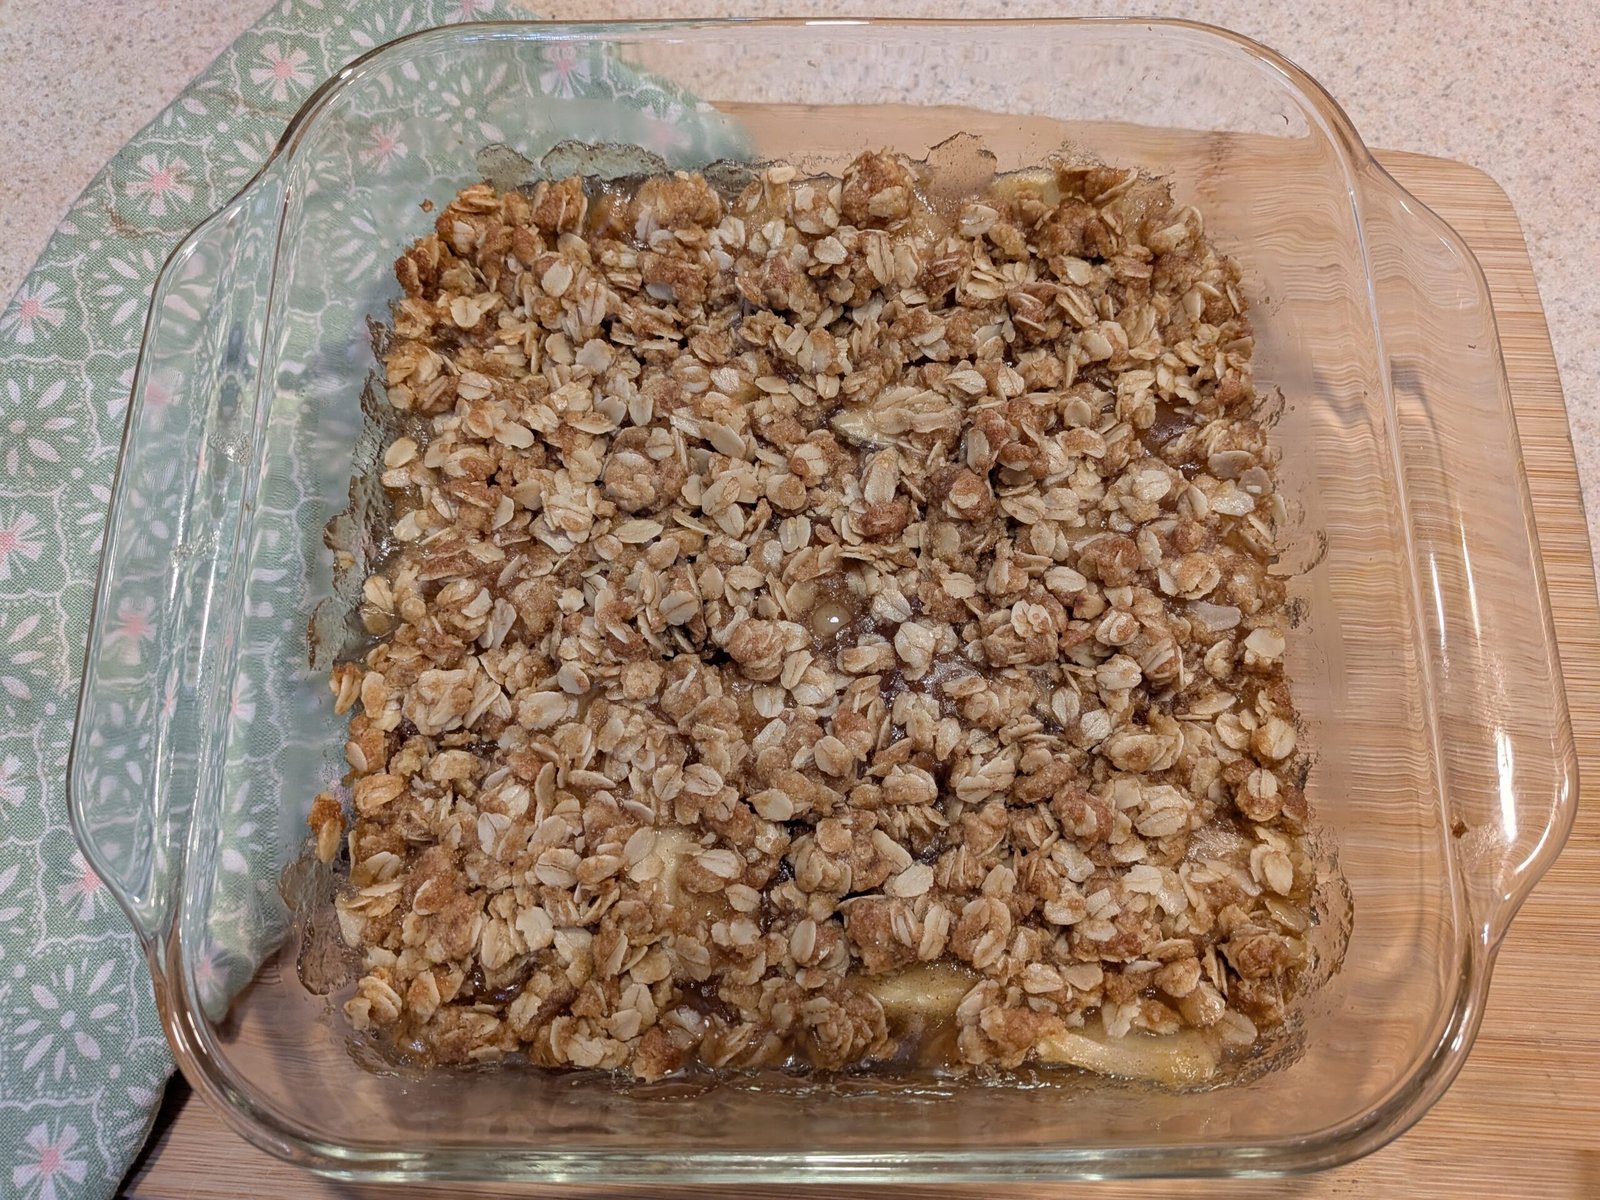
- Apple crisp
- Apple cobbler
- Apple dump cake
- Hand pies
- Apple turnovers
- Pancake or waffle topping
- Cheesecake topping
- Warm apples over vanilla ice cream
You could even warm the filling and eat it straight from a bowl.
Not that I would know anything about that.
One Quart = One Easy Dessert
Another reason I like canning this filling in quart jars is that one quart is enough filling for an 8- to 9-inch pie.
That makes it incredibly convenient.
When I want to make a pie, most of the work is already done. I just prepare my crust, open a jar of filling, assemble everything, and bake.
For an even easier dessert, pour a jar into a baking dish and add a simple oat crumble topping. Suddenly you have homemade apple crisp with very little effort.
That’s exactly the kind of pantry convenience I want.
Preserving Apple Season One Jar at a Time
With 60 pounds of apples sitting in my kitchen this year, I knew we weren’t going to eat our way through all of them fresh.
Some will be freeze-dried. Some will be dehydrated. I’ll make applesauce. Quite a few are destined for jars of apple pie filling.
When winter rolls around and apple season is long gone, being able to walk into the pantry and pull a jar of homemade apple pie filling off the shelf feels pretty wonderful.
Especially when unexpected company is coming.
Or I need to bring dessert somewhere.
Or it’s Tuesday.
Tuesday is a perfectly acceptable reason for apple pie.
Happy canning, friends! May your pantry shelves be full and may there always be vanilla ice cream in the freezer.
From our kitchen to yours,
Eliza