
If there is one thing a garden loves to do, it’s give you absolutely nothing for weeks, and then suddenly hand you more produce than any reasonable family could eat.
Peppers are definitely one of those crops.
Whether your garden is overflowing with bell peppers, jalapeños, banana peppers, poblanos, or a little bit of everything, freeze-drying is one of my favorite ways to preserve them. Once they’re done, they take up very little pantry space and are incredibly easy to toss into soups, chili, casseroles, eggs, and other meals throughout the fall and winter.
And unlike canning, there’s no standing over a hot pot of water when it’s already 90 degrees outside. That alone earns freeze-drying a few bonus points around here.
Why Freeze Dry Peppers?
There are plenty of ways to preserve peppers. You can freeze them, pickle them, dehydrate them, or turn them into sauces and salsas.
When I have a large amount to process at once, I love using my freeze dryer.
Freeze-dried peppers are lightweight, shelf-stable when properly packaged, and easy to use. They also don’t take up precious freezer space which becomes increasingly valuable around here as harvest season goes on.
We use our preserved peppers throughout the year in things like:
- Soups and chili
- Scrambled eggs and omelets
- Casseroles
- Taco meat
- Fajitas
- Pasta dishes
- Homemade sauces
- Pizza
- Breakfast skillets
Basically, anywhere I would normally toss in a chopped pepper, freeze-dried peppers can come to the rescue.
What You’ll Need
You don’t need much to get started:
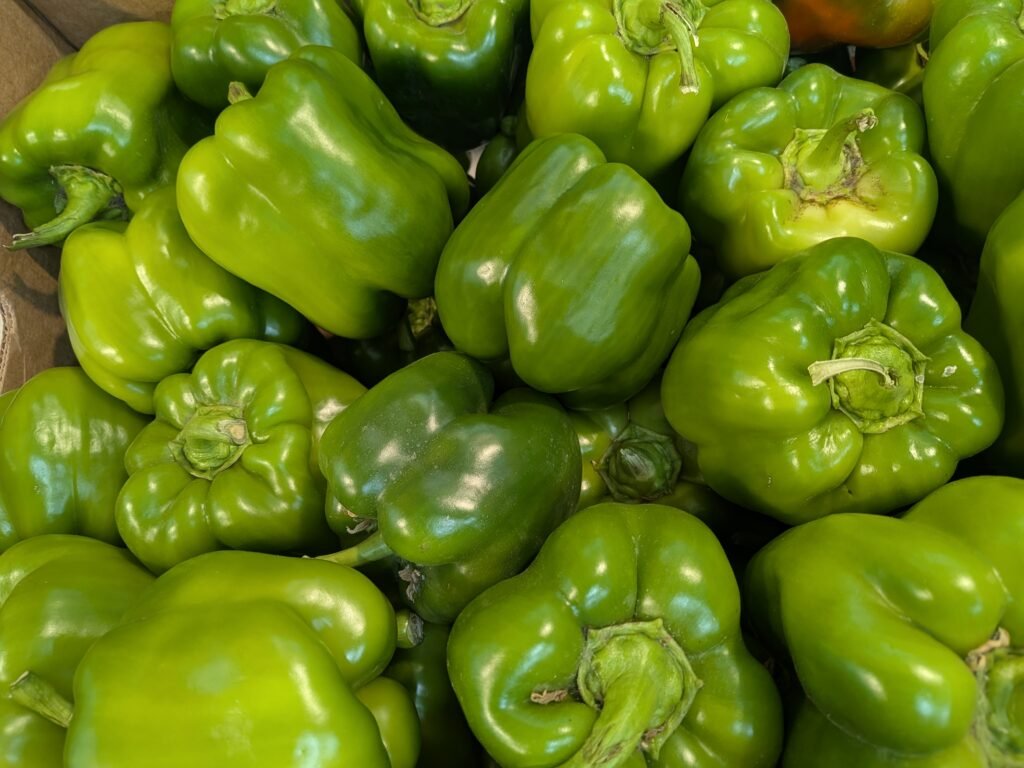
Fresh garden peppers
Use whatever varieties you have growing or can get your hands on.
A good knife or vegetable chopper
When you’re processing a big harvest, a chopping tool can save a surprising amount of time.
Freeze-dryer trays
Freeze dryer
I use my Harvest Right freeze dryer for preserving everything from garden produce to full meals, and peppers are one of the easiest things to run through it.
Affiliate disclosure: This post contains affiliate links. If you purchase through one of my links, I may earn a small commission at no additional cost to you. Thank you for supporting our homestead!
Step 1: Wash Your Peppers
Start by washing your peppers thoroughly and removing any dirt from the garden.
Look them over while you’re washing and remove any peppers or portions of peppers that are spoiled, moldy, or badly damaged.
A little garden imperfection is fine. We’re homesteaders, not grocery store produce inspectors.
Step 2: Remove the Stems and Seeds
Cut off the tops of your peppers and remove the stems, seeds, and membranes.
For bell peppers, I usually cut them open and pull everything out before chopping.
If you’re working with hot peppers, wearing gloves is a very good idea. Pepper hands have a way of reminding you they exist the exact moment you rub your eye.
Step 3: Chop the Peppers
Next, chop your peppers into relatively uniform pieces.
You can absolutely do this by hand, but when I’m staring at a mountain of garden produce, I’m all about working smarter.
A vegetable chopper makes quick work of a big pile of peppers and gives you fairly uniform pieces, which is especially helpful when you’re filling multiple freeze-dryer trays.
Vegetable Chopper I Use for Garden Produce
Try to think about how you’ll eventually use your peppers. I like smaller diced pieces because they’re easy to grab and toss directly into whatever I’m cooking.
Step 4: Fill Your Freeze-Dryer Trays
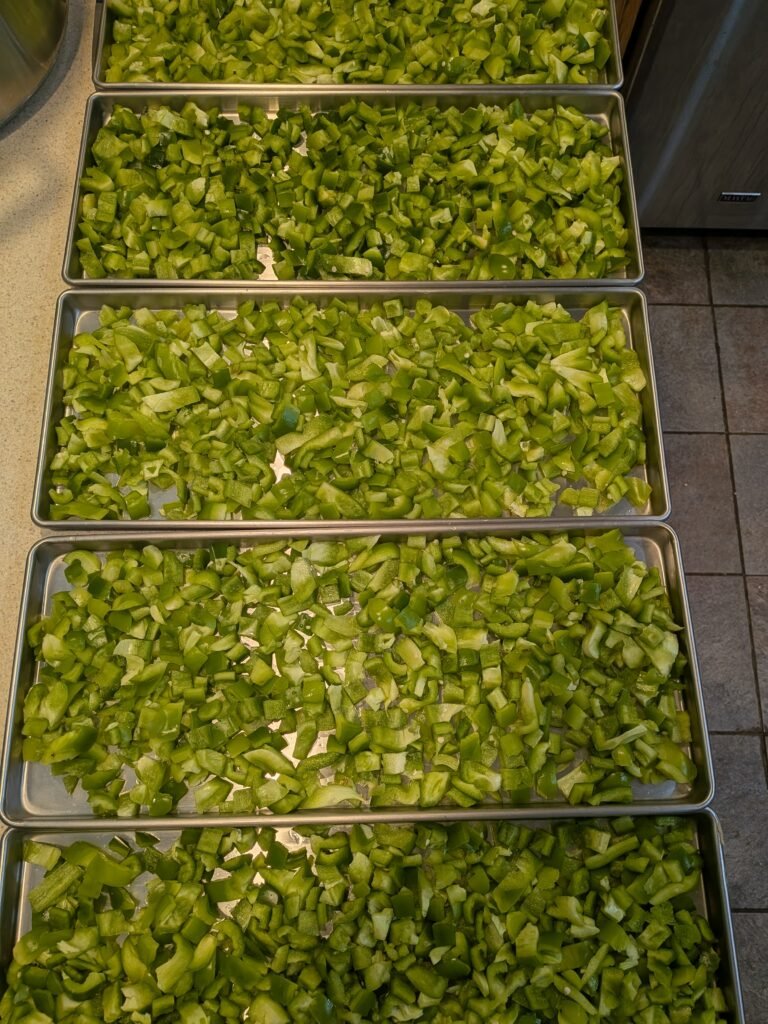
Spread the chopped peppers evenly across your freeze-dryer trays.
You don’t need every piece perfectly spaced, but you also don’t want huge piles of peppers stacked on top of one another. An even layer helps everything freeze-dry more consistently.
Fill your trays and load them into your freeze dryer according to the manufacturer’s instructions.
Step 5: Run the Freeze-Dryer Cycle
Run the peppers through a complete freeze-drying cycle.
The exact amount of time will vary depending on your machine, the amount of food on the trays, the size of your pepper pieces, and the moisture content of the peppers.
Rather than relying only on the machine’s timer, always check the food before packaging it.
Take a few of the thickest pieces from different areas of the trays and break them open. They should be completely dry all the way through with no cold, damp, or soft spots remaining.
If you’re unsure, add more dry time.
When it comes to long-term food storage, a little extra dry time is much better than packaging food that still contains moisture.
How to Store Freeze-Dried Peppers
Once your peppers are completely freeze-dried, package them as soon as possible. Freeze-dried foods can begin absorbing moisture from the air quickly, so this isn’t the time to leave your trays sitting on the counter while you get distracted by the garden, animals, kids, or the approximately 47 other things that need your attention.
For long-term storage, I prefer Mylar bags with oxygen absorbers.
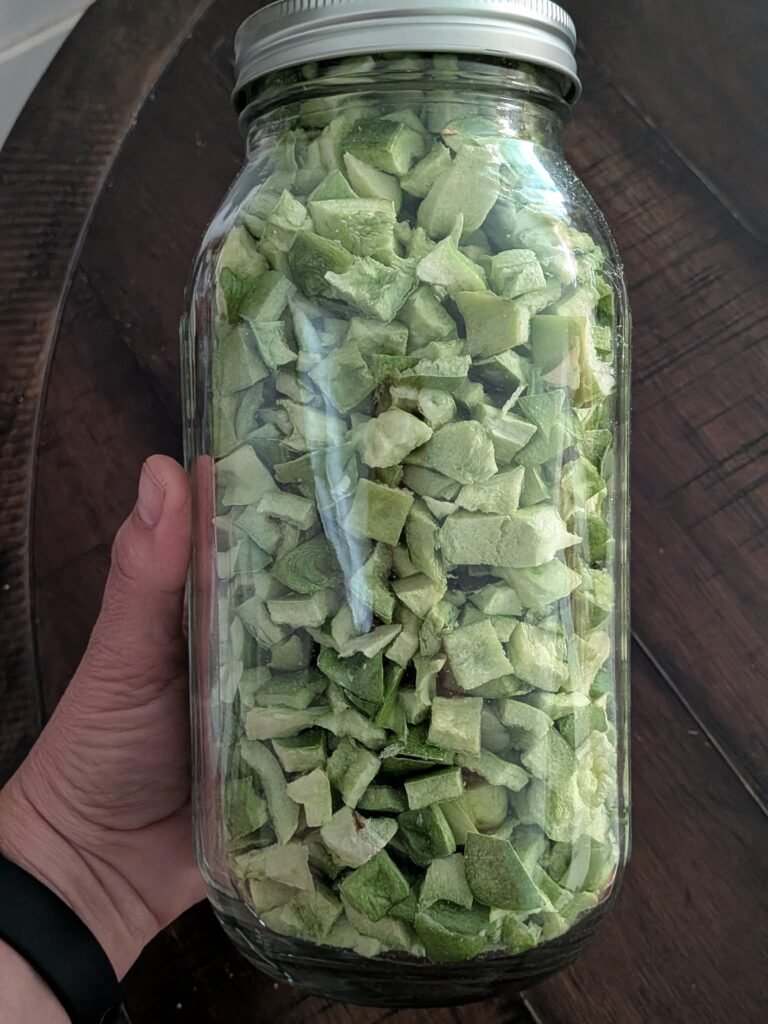
You can also store freeze-dried peppers in airtight mason jars for foods you plan to use more frequently. I love using half-gallon mason jars because I can easily grab them from the pantry.
Label your containers with the contents and date before putting them away. It is amazing how quickly “obviously bell peppers” turns into “what on earth did I put in this bag?” six months later.
Do You Have to Rehydrate Freeze-Dried Peppers?
Not always!
That’s one of my favorite things about them.
If I’m making soup, chili, or another recipe with plenty of liquid, I usually toss the freeze-dried peppers directly into the pot. They’ll rehydrate while everything cooks.
For recipes that don’t call for much liquid, you can place the peppers in a bowl with a little water to rehydrate them before adding them to your meal.
You can also crush freeze-dried peppers into smaller pieces or even turn them into a powder for seasoning.
Can You Freeze Dry Hot Peppers?
Yes, but proceed with a little common sense.
Hot peppers can release compounds that may irritate your eyes, skin, and respiratory system when you’re cutting and processing them. Wear gloves, work in a well-ventilated area, and follow your freeze-dryer manufacturer’s recommendations for processing strong or pungent foods.
And please don’t touch your face after chopping jalapeños.
Ask me how every gardener eventually learns that lesson.
One Less Thing Taking Up Freezer Space
Preserving garden produce is always a little bit of work up front, but I love knowing we’re putting away food that we’ll actually use throughout the year.
A tray full of fresh peppers may look like a lot when they’re coming out of the garden, but once they’re freeze-dried and packaged, they take up surprisingly little room in the pantry.
Then, in the middle of winter when the garden is buried, dormant, or generally looking very unhelpful, I can grab a handful of peppers and toss them straight into a pot of chili.
That’s the whole reason we do this.
Grow it while we can, preserve as much as we can, and enjoy it long after garden season is over.
Ready to Start Freeze Drying?
If you’ve been thinking about adding a freeze dryer to your own food-preservation setup, you can check out the machine we use here:
Shop Harvest Right Freeze Dryers
And if you’re already freeze-drying but want to make garden-processing days a little easier, I’ve gathered some of my favorite tools and accessories here:
Shop My Freeze-Drying & Food Preservation Favorites
Happy preserving, and may your garden give you exactly enough peppers next year instead of 75 at the same time, but we all know that’s probably not going to happen.
From our homestead to yours,
Eliza