
Every summer when cherry season rolls around, I make it a point to save every pit after processing our cherries. Around here, we try hard not to waste much of anything, and over the years I’ve learned that even the scraps can still be useful.
The other day I worked through 20 pounds of cherries, freezing most of them for smoothies and setting some aside to dehydrate—and, as always, I saved every pit to make my homemade cherry pit vinegar.
It’s become one of those simple homestead kitchen staples I make every year and keep tucked in the fridge to use all year long. I use it in salad dressings, marinades, and recipes anytime I want a little extra flavor. It’s an easy way to stretch the harvest just a little further and make sure nothing goes to waste.
Why Make Cherry Pit Vinegar?
Cherry pit vinegar has a subtle fruity flavor with a little tartness and depth. It’s perfect for:
- Homemade vinaigrettes
- Marinades for chicken or pork
- Brightening up sauces
- Adding to summer salads
- Mixing into shrubs or mocktails
And the best part? It uses what would otherwise be kitchen scraps.
That’s my favorite kind of homestead recipe.
What You’ll Need for Cherry Pit Vinegar
- Cherry pits (from fresh cherries) I love this pitter.
- White vinegar (enough to fully cover)
- A half-gallon mason jar
- Fine mesh strainer or cheesecloth
That’s it. No fancy ingredients. No complicated process.
How to Make Cherry Pit Vinegar
Step 1: Save Your Cherry Pits
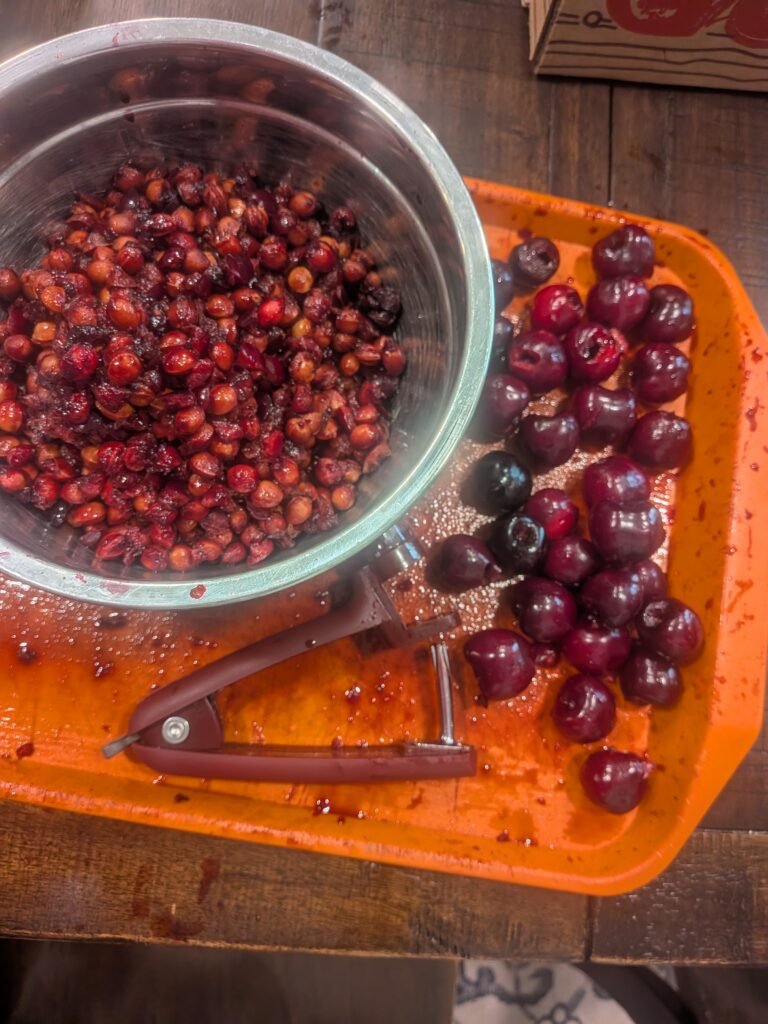
After pitting your cherries, set the pits aside. Mine came from about 20 pounds of cherries, but you can use whatever amount you have.
It’s okay if a little bit of fruit is still stuck to them. They don’t need to be perfectly clean.
Step 2: Fill Your Jar
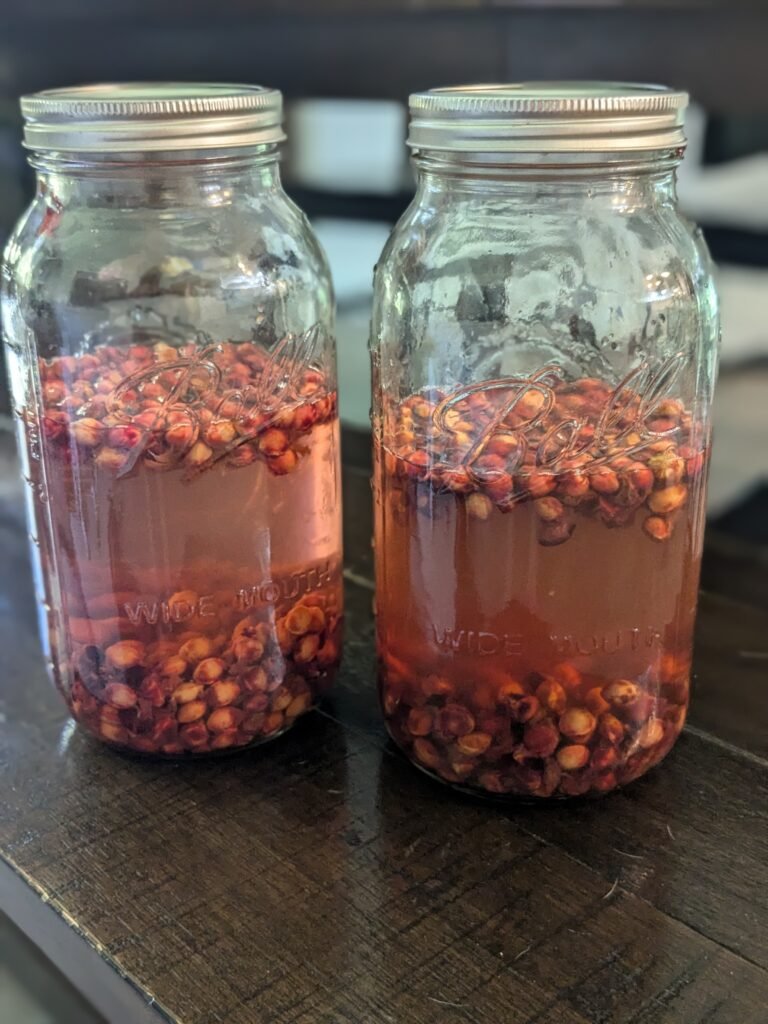
Add the cherry pits to your mason jar. I use a half-gallon mason jar because it gives me plenty of room and stores easily in the fridge.
Fill the jar about halfway with pits.
Step 3: Cover with Vinegar
Pour white vinegar over the pits until they’re fully submerged.
Make sure all the pits are covered so nothing is exposed to air.
Step 4: Let It Infuse
Seal the jar with a lid and place it out of direct sunlight. I typically put mine in a cupboard.
Let it infuse for at least 2–4 weeks, giving it a gentle shake every few days if you remember. If you forget? Welcome to homestead life. It’ll still be fine.
The longer it sits, the stronger the cherry flavor becomes.
Step 5: Strain and Store
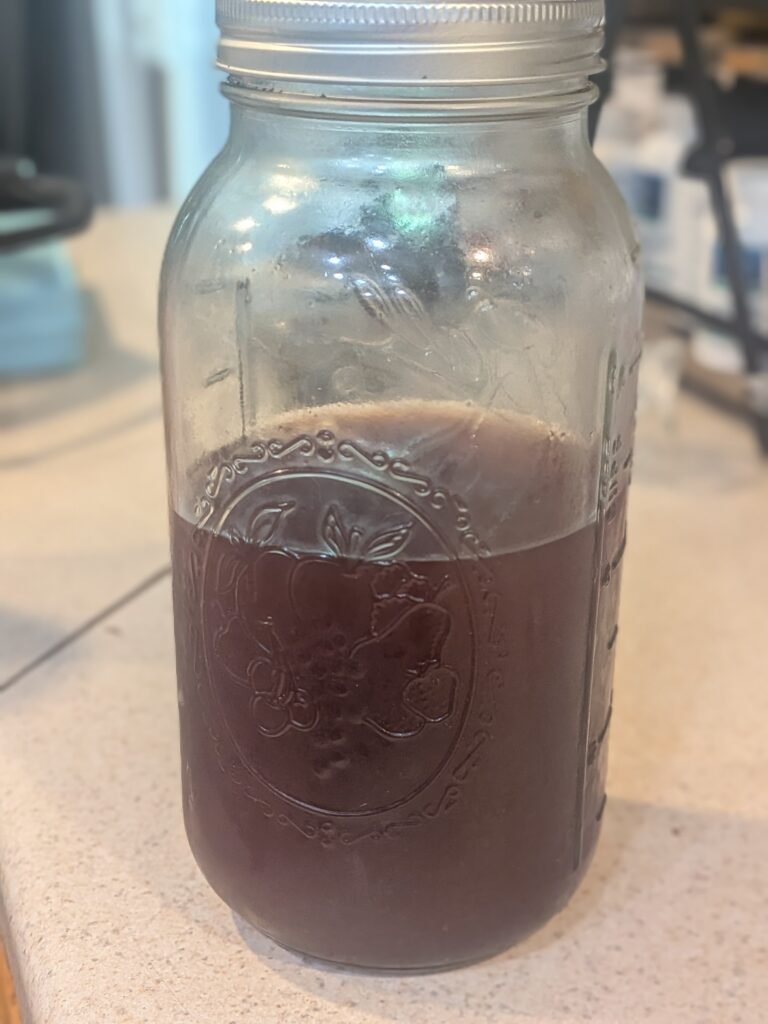
Once it’s infused to your liking, strain out the pits using cheesecloth or a fine mesh strainer.
Pour the finished vinegar back into a clean jar and store it in the fridge.
How I Use Cherry Pit Vinegar
This homemade vinegar will get pulled out all year long around here. I use it mostly for:
- Simple homemade salad dressings
- Marinades for grilled meat
- Adding a little tang to roasted vegetables
- Mixing into homemade sauces
It’s such a simple way to add flavor while making the most of your harvest.
Waste Less, Use More
One thing homesteading has taught me is that there’s usually one more use for almost everything. Those cherry pits could’ve easily been tossed, but instead they turned into something useful for my kitchen.
By the time I finish pitting 20 pounds of cherries, my hands usually look like I’ve committed some sort of fruit-related crime, and my kitchen isn’t far behind. At least all that sticky mess is worth it. Between the freezer bags, dehydrated cherries, and a fresh jar of cherry pit vinegar tucked in the fridge, I can call it a full win even if that means scrubbing cherry juice out from under my fingernails for three days, so be it.
If you’re preserving cherries this season, save those pits. Your future salad dressing will thank you.
From my kitchen to yours,
Eliza